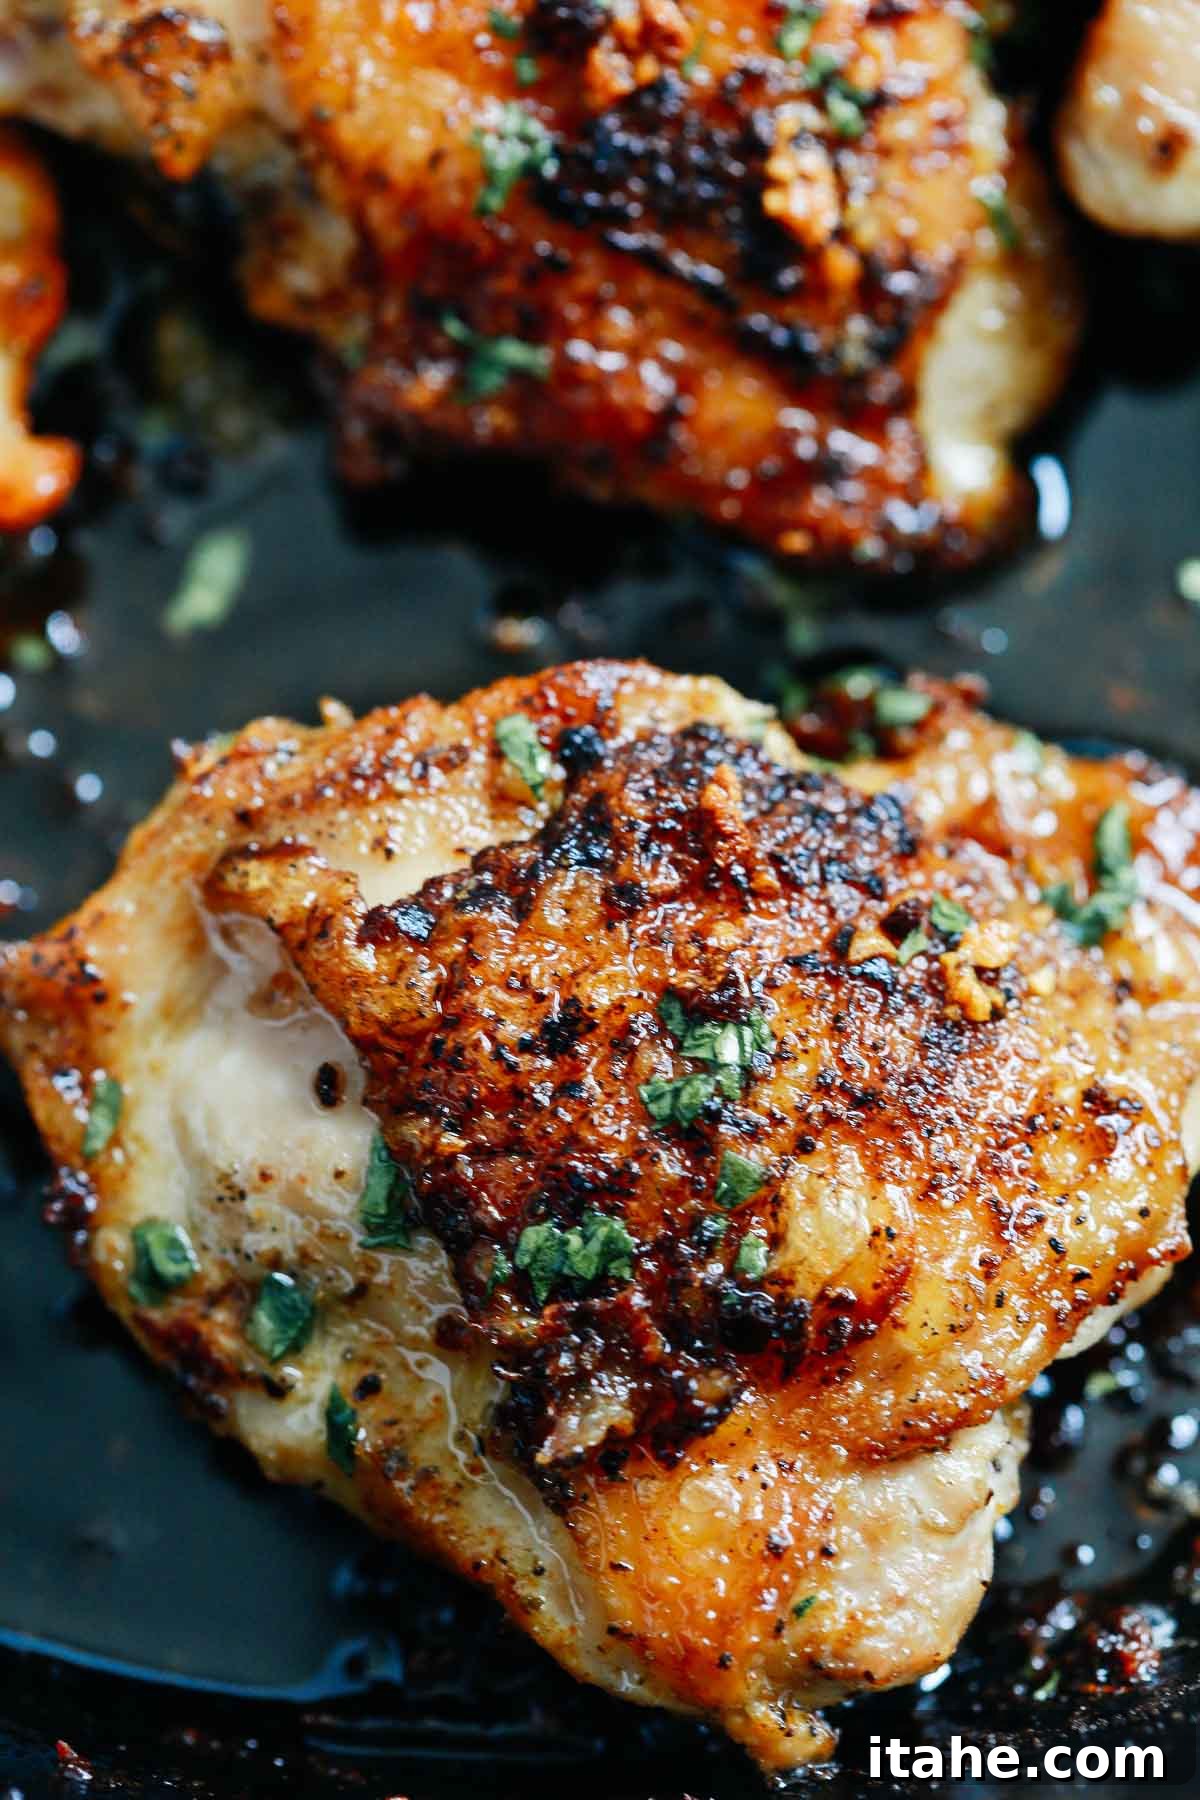
Transform your weeknight dinner routine with these incredible Garlic Butter Baked Chicken Thighs. This recipe offers the ultimate solution for a meal that’s both deeply flavorful and remarkably easy to prepare. Featuring oven-baked chicken thighs perfectly seasoned and bathed in a rich garlic butter sauce, every bite promises a juicy, tender interior encased in a wonderfully crispy, golden skin. Ready in just about 45 minutes, this dish is a lifesaver for busy families seeking a delicious, no-fuss dinner that everyone will adore.
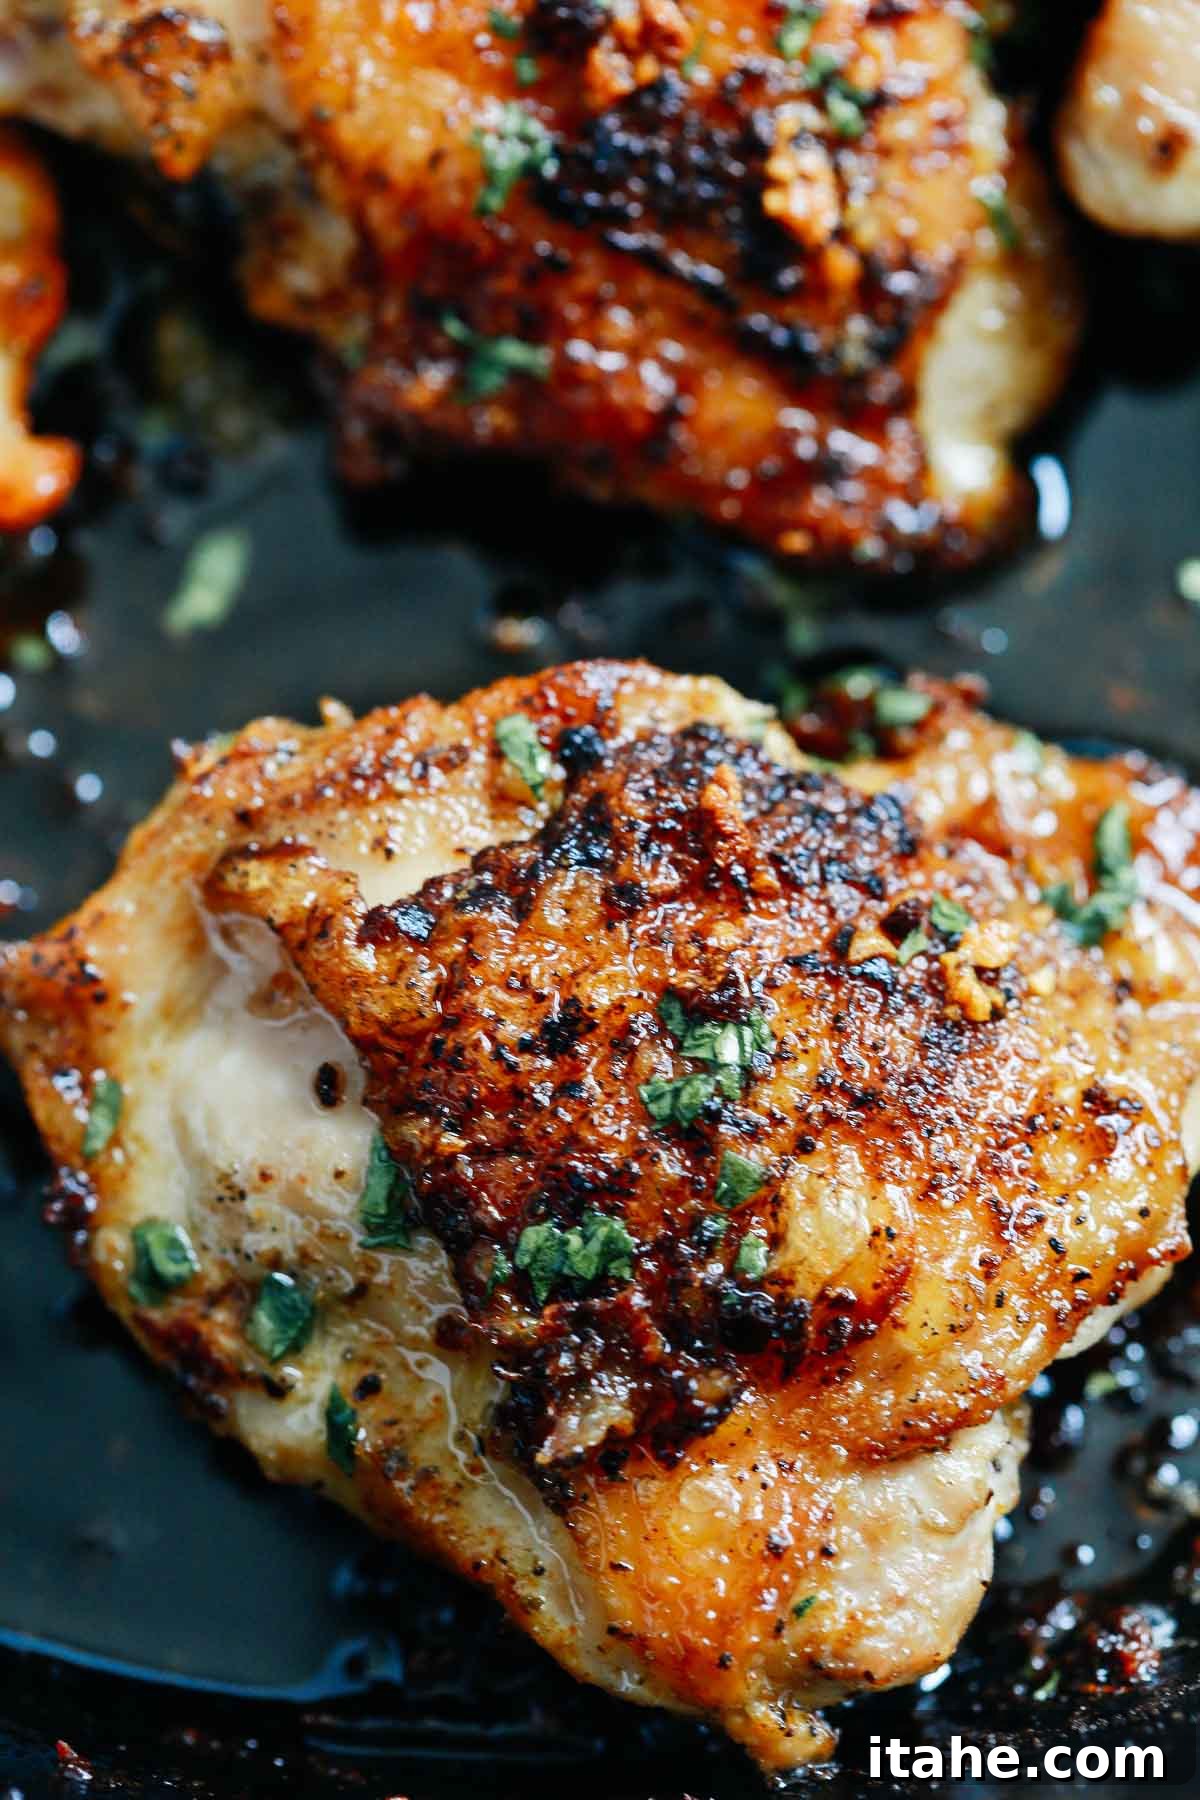
There’s nothing quite like a meal that brings genuine joy to the dinner table, and this recipe for garlic butter baked chicken thighs consistently delivers. It’s a cherished family favorite in my household, guaranteed to elicit happy sighs and requests for seconds. In fact, the crispy skin often sparks friendly competition! Having prepared this dish countless times to consistent rave reviews, I’m thrilled to finally share my go-to recipe with you.
What makes this recipe truly special isn’t just its incredible taste, but its delightful simplicity. You don’t need a lengthy list of exotic ingredients or complex techniques to create a meal that tastes like it came from a gourmet kitchen. With just a few key components and straightforward steps, you’ll achieve the juiciest, most flavorful chicken thighs imaginable.
Why Garlic Butter Baked Chicken Thighs Are a Weeknight Winner
In the whirlwind of daily life, finding a dinner recipe that is both simple to execute and delivers maximum flavor can feel like striking gold. These garlic butter baked chicken thighs hit all the right notes, making them a recurring star in our meal rotation. Here’s why they deserve a spot in yours:
- Effortless Preparation: From seasoning to oven, the hands-on time is minimal. Most of the magic happens in the oven, freeing you up for other tasks.
- Explosive Flavor: The combination of savory chicken, aromatic garlic, and rich butter creates an irresistible depth of flavor that appeals to all palates.
- Perfect Texture Contrast: Enjoy succulent, moist meat perfectly complemented by gloriously crispy, golden-brown skin. It’s a texture lover’s dream!
- Versatile & Crowd-Pleasing: This dish pairs beautifully with a wide array of side dishes, from simple roasted vegetables to creamy mashed potatoes, making it suitable for any occasion, from casual weeknights to special gatherings.
- Cost-Effective: Chicken thighs are generally more affordable than breasts, offering incredible value without compromising on taste or quality.
The Magic of Chicken Thighs: Why They Shine
While this recipe can be adapted for other cuts of chicken, bone-in, skin-on chicken thighs are truly the secret to its success. Here’s why I highly recommend sticking with them:
- Unmatched Juiciness: Chicken thighs naturally contain more fat than chicken breasts, which renders down during baking, basting the meat from within. This ensures a consistently moist and tender result that is incredibly forgiving, even if slightly overcooked.
- Richer Flavor: The dark meat of chicken thighs boasts a more robust, deeper flavor profile compared to white meat, perfectly complementing the rich garlic butter sauce. The bone also contributes to this depth of flavor, infusing the meat as it cooks.
- Crispy Skin Potential: The skin on chicken thighs is thicker and fattier, making it ideal for achieving that coveted crackling crispness. When seared correctly and then baked, it transforms into a delicious, golden shield that locks in moisture and adds incredible texture.
- Budget-Friendly: Chicken thighs are often more economical than breasts, making this a delicious and wallet-friendly option for feeding your family.
While boneless, skinless thighs or even chicken breasts can be used in a pinch, be aware that you might need to adjust cooking times and temper your expectations for that signature crispy skin and deep juiciness. For the ultimate garlic butter baked chicken experience, trust the bone-in, skin-on thigh!
Essential Ingredients for Unforgettable Flavor
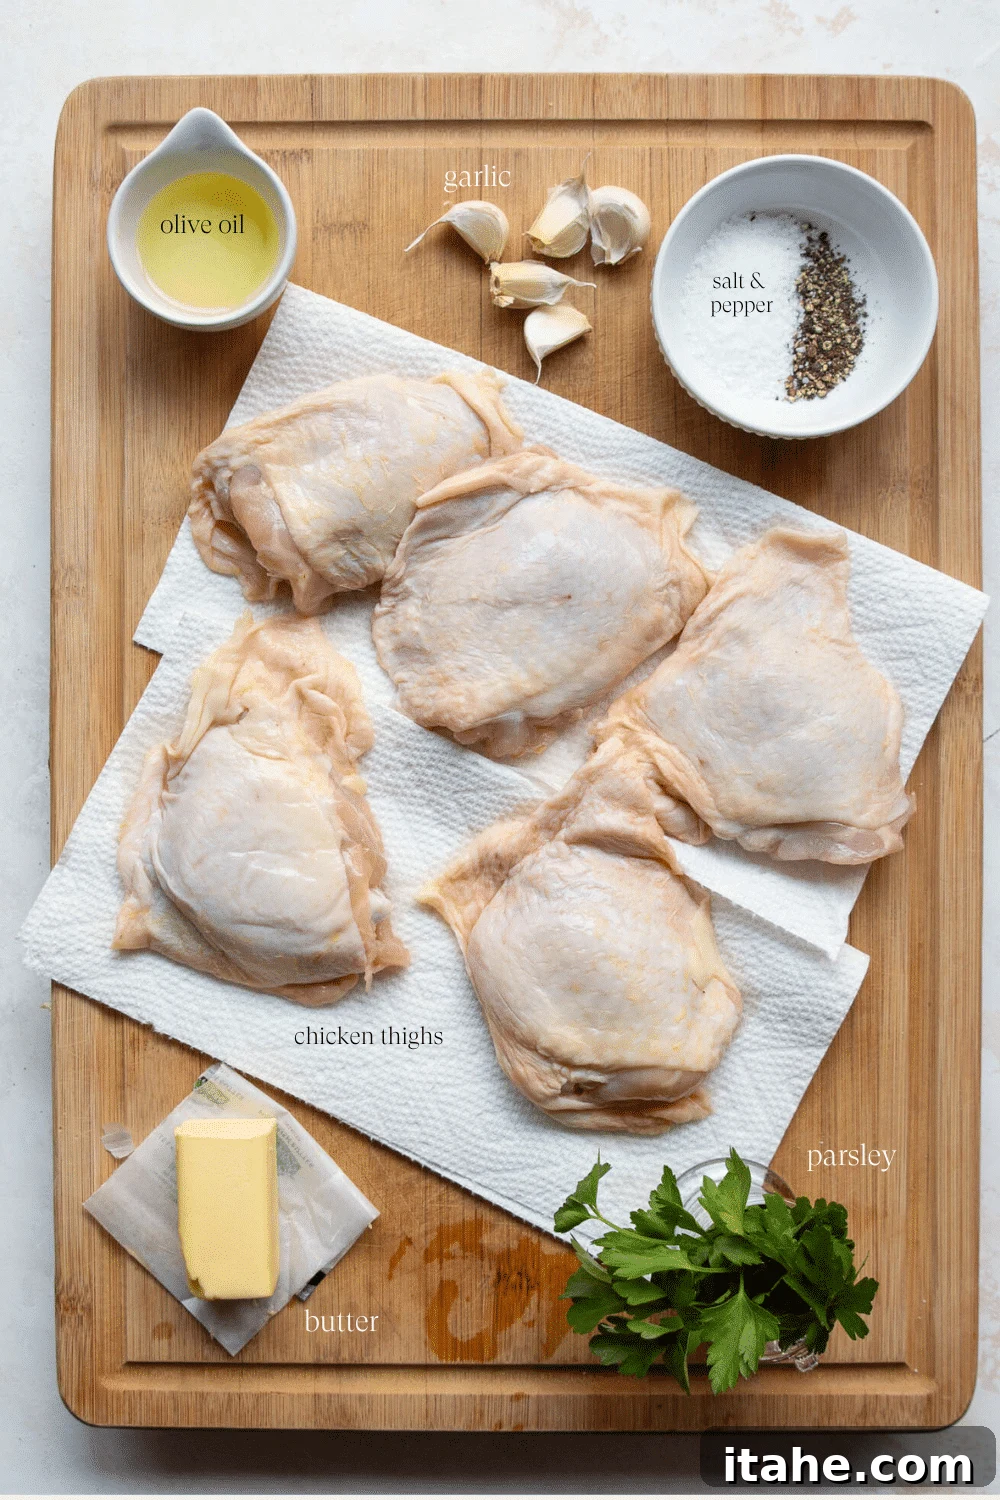
The beauty of this recipe lies in its reliance on just a few high-quality ingredients, each playing a crucial role in creating the perfect flavor profile. Here’s a closer look at what you’ll need and why:
- Chicken Thighs: As discussed, bone-in, skin-on chicken thighs are highly recommended. Their inherent fat content and richer flavor lead to a far more tender and juicy outcome. If you opt for boneless or skinless alternatives, be mindful that cooking times will vary, and you might miss out on that delightful crispy skin. Aim for thighs that are roughly uniform in size for even cooking.
- Fresh Garlic: This is the heart of our garlic butter sauce, and fresh is always best. Crushing or mincing fresh cloves releases their potent, vibrant oils, resulting in a much stronger and more aromatic flavor compared to pre-minced or powdered garlic. Invest a few extra moments in fresh garlic – your taste buds will thank you!
- Unsalted Butter: Using unsalted butter allows you complete control over the seasoning of your dish. Chicken thighs are typically rich in flavor, and by adding salt separately, you can enhance their natural taste without the risk of over-salting the butter. Good quality butter will also add a luscious creaminess to the sauce.
- Olive Oil: A touch of olive oil helps achieve that initial golden sear on the chicken skin without burning the butter. It has a higher smoke point, making it ideal for pan-searing.
- Salt and Black Pepper: Simple yet essential. These seasonings are crucial for bringing out the natural flavors of the chicken and balancing the richness of the garlic butter. Season generously but judiciously.
- Fresh Parsley (Optional Garnish): While optional, a sprinkle of fresh chopped parsley at the end adds a vibrant pop of color and a subtle herbaceous freshness that brightens the entire dish.
Mastering the Art of Garlic Butter Baked Chicken Thighs: A Step-by-Step Guide
Creating these perfectly crispy and juicy chicken thighs is simpler than you might think. Follow these steps carefully for a truly delicious result:
Step 1: Prepare the Chicken
- Preheat your oven: Set your oven to 400°F (200°C) and ensure an oven rack is positioned in the center. This allows for even heat distribution.
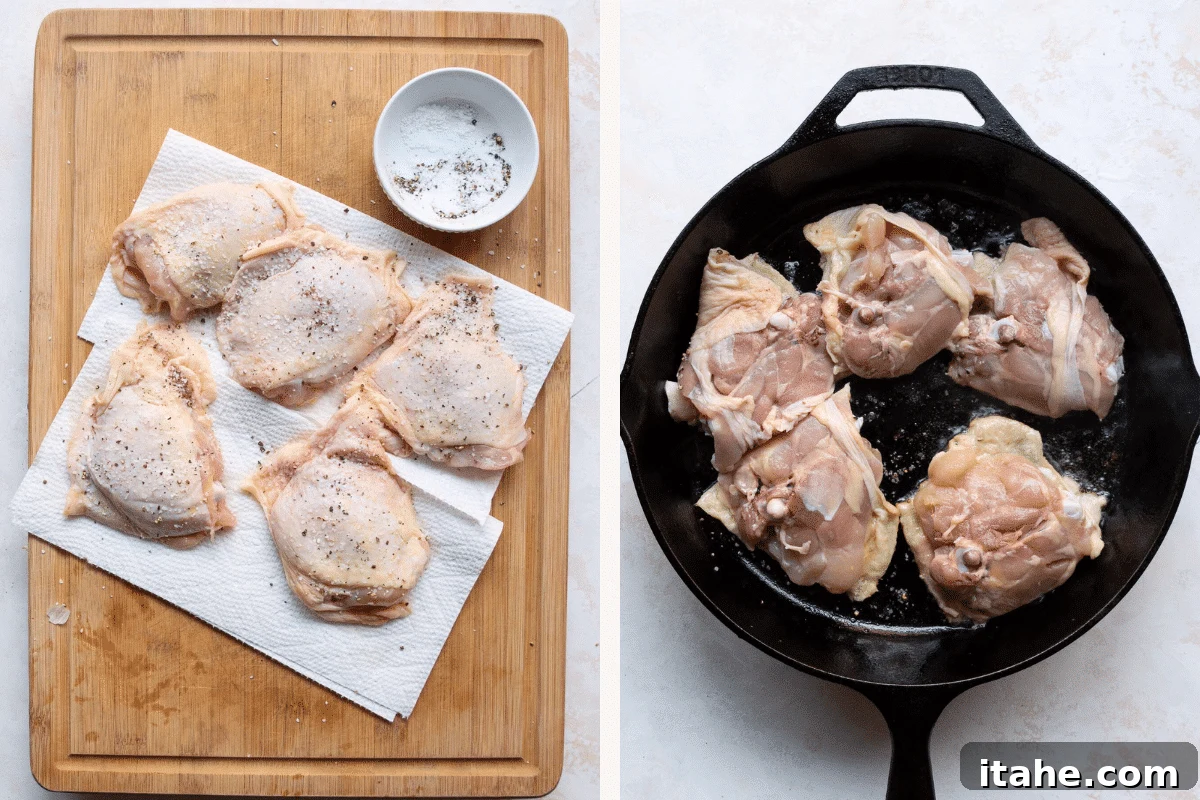
- Pat dry the chicken: Using paper towels, thoroughly pat both sides of the chicken thighs dry. This is a critical step for achieving crispy skin, as excess moisture prevents browning.
- Season generously: Season both sides of the chicken thighs liberally with salt and freshly ground black pepper. Don’t be shy – proper seasoning is key to flavor.
Step 2: Sear for Crispy Skin
- Heat the skillet: Place a cast iron skillet (preferably 10-inch or larger, or use two if needed to avoid overcrowding) over medium-high heat. Add the olive oil and let it heat until shimmering.
- Sear the chicken: Carefully place the chicken thighs, skin-side down, in a single layer in the hot skillet. Do not overcrowd the pan, as this will steam the chicken instead of searing it. Cook for about 5-7 minutes, or until the skin is beautifully golden brown and crispy. You should hear a satisfying sizzle.
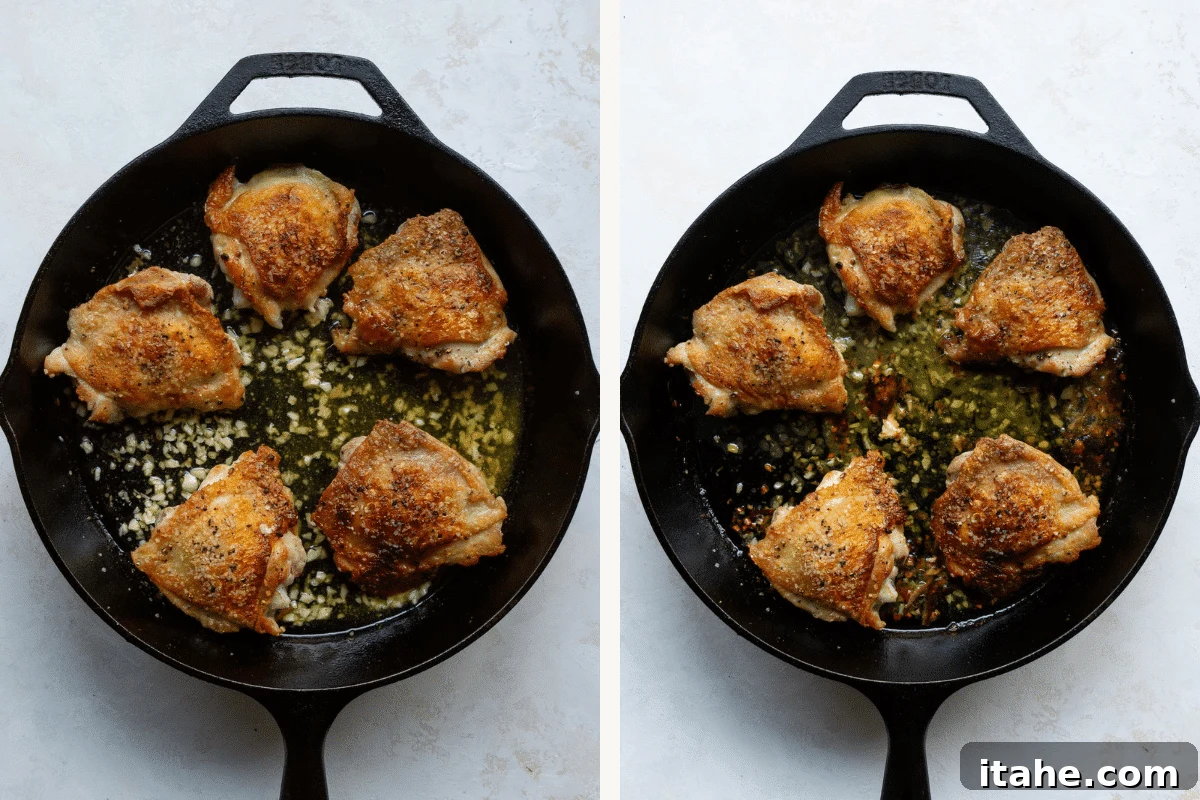
- Flip the chicken: Once the skin is perfectly crispy, flip the chicken thighs over. At this point, they don’t need to be fully cooked through on the second side, just lightly browned. If the chicken releases a significant amount of fat, carefully spoon out any excess to keep the pan from becoming greasy.
Step 3: Infuse with Garlic Butter
- Melt the butter: While the chicken is browning on the second side, add the butter to an empty spot in the skillet, allowing it to melt.
- Add the garlic: Once the butter is melted, add the crushed or minced garlic to the pan. Stir the garlic into the butter for about 30 seconds. Be careful not to let the garlic burn; keep the heat at medium and watch it closely. It should become fragrant, not brown.
Step 4: Bake to Perfection
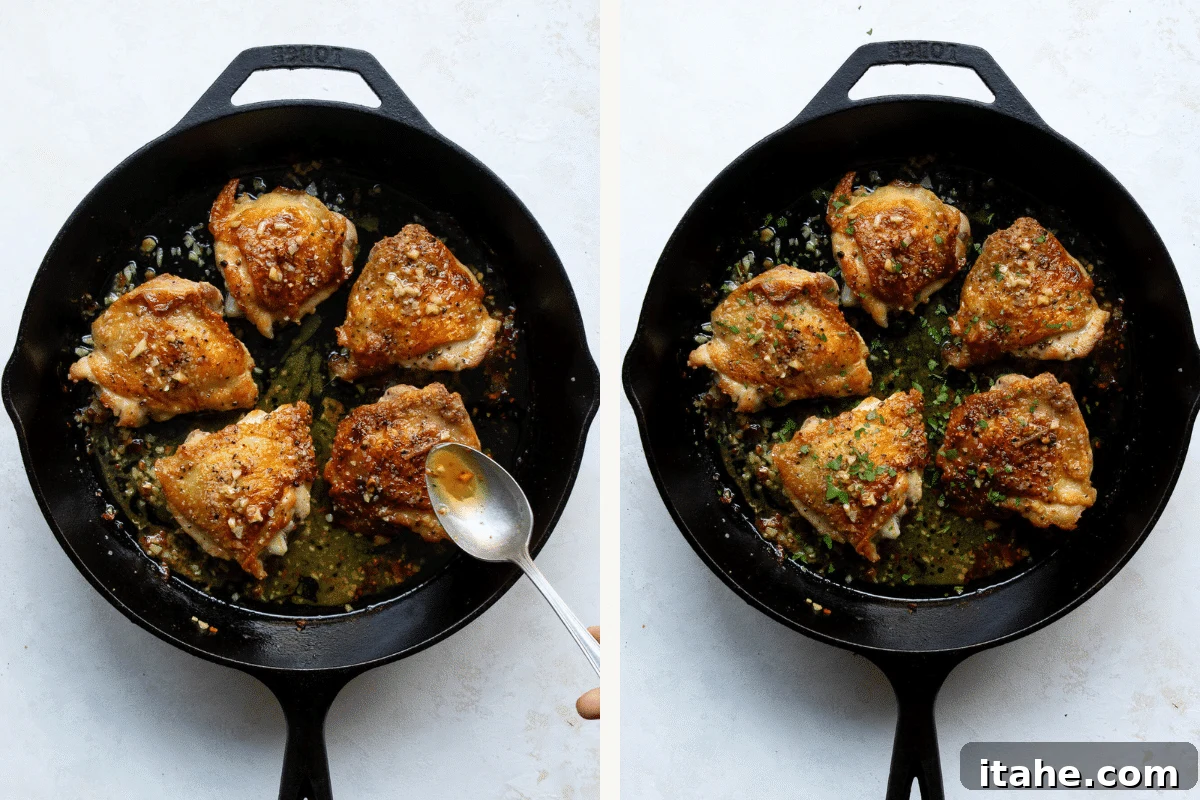
- Transfer to oven: Carefully transfer the entire skillet (if oven-safe) to your preheated oven. If you don’t have an oven-safe skillet, transfer the seared chicken thighs and garlic butter sauce to a baking dish or sheet pan.
- Bake the chicken: Bake for 25-30 minutes, or until the chicken reaches an internal temperature of 165°F (74°C). To ensure your chicken is perfectly cooked without drying it out, use a meat thermometer inserted into the thickest part of the thigh, avoiding the bone.
- Prevent over-darkening: If the chicken skin starts to darken excessively before the internal temperature is reached, you can loosely tent the skillet or baking dish with aluminum foil.
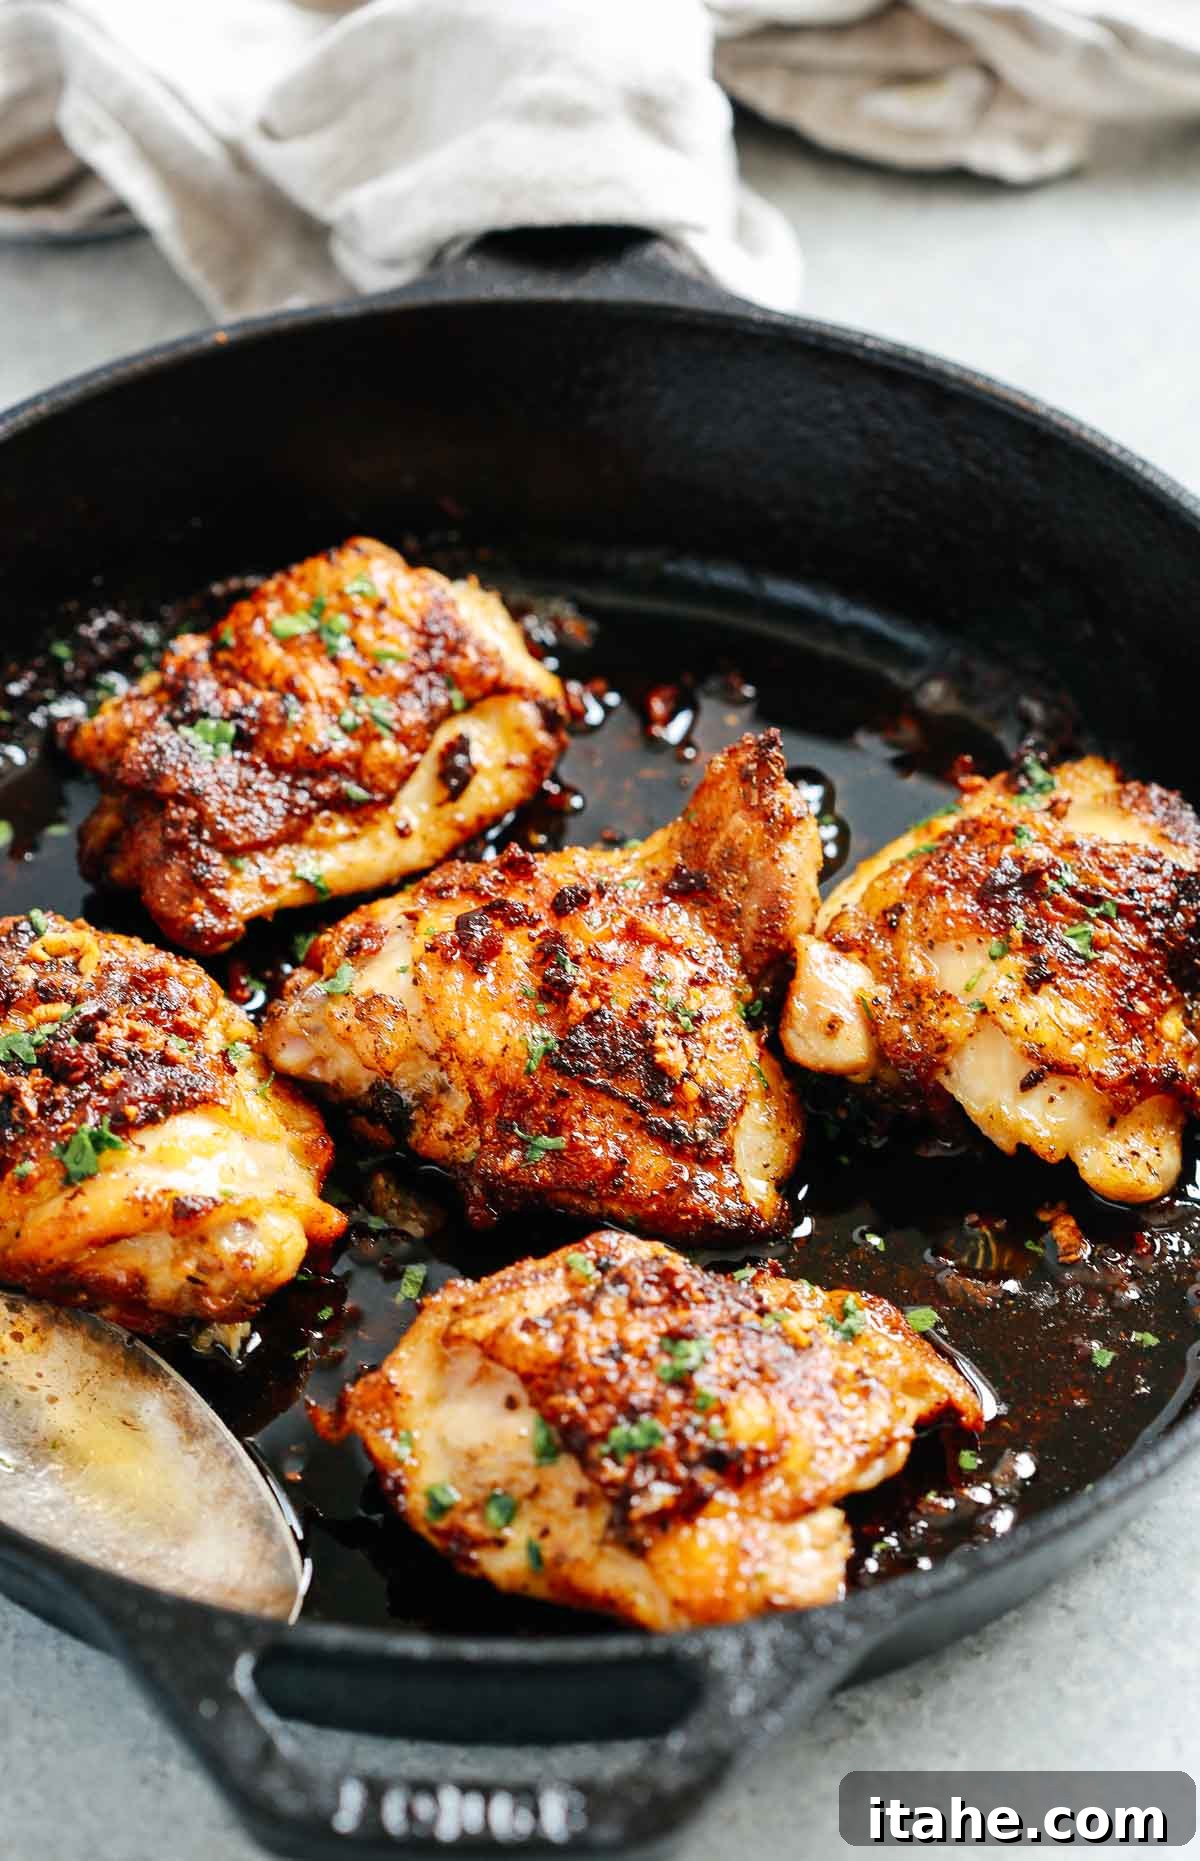
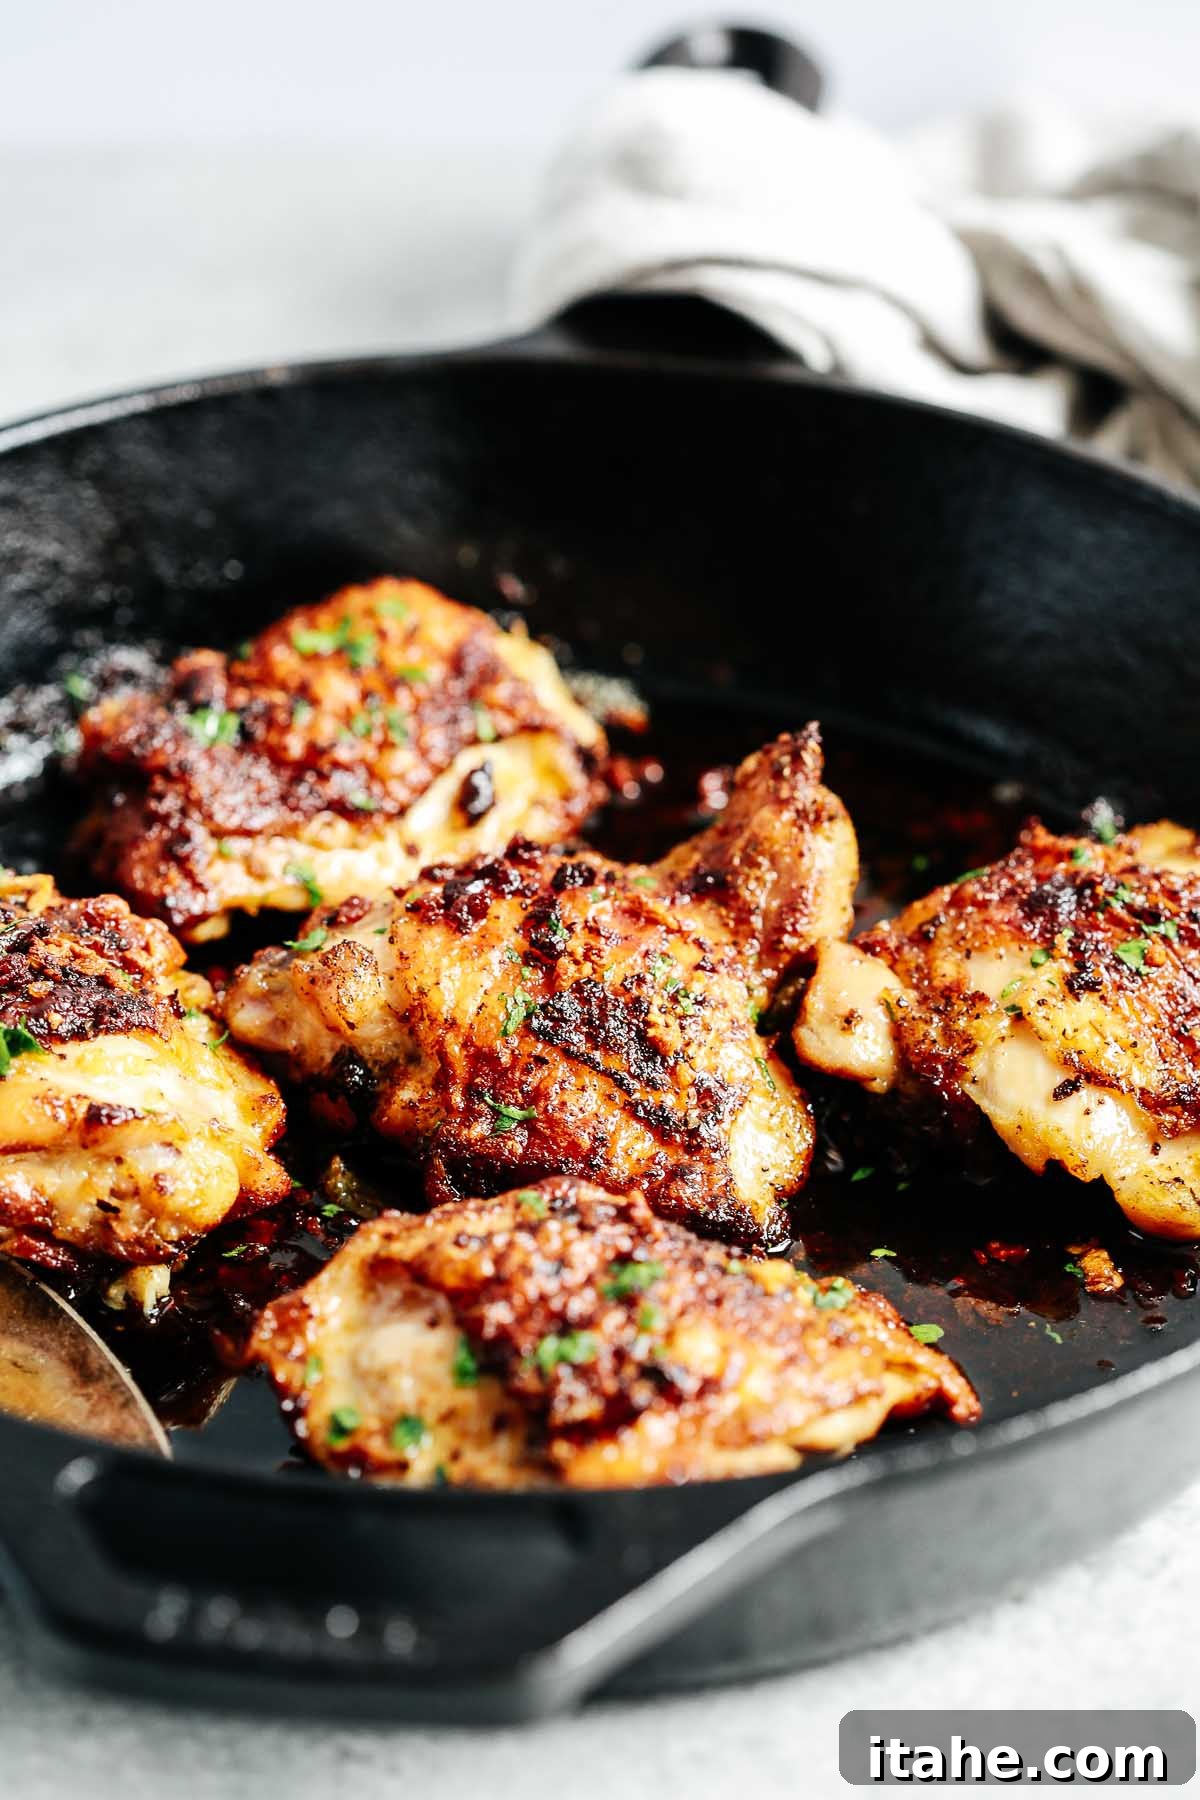
- Rest and serve: Once cooked, remove the chicken from the oven. Spoon some of the delicious garlic butter sauce over each thigh. Allow the chicken to rest for 5-10 minutes before serving. This crucial step allows the juices to redistribute throughout the meat, resulting in an even more tender and moist chicken. Garnish with fresh chopped parsley, if desired.
Tips for the Juiciest, Crispiest Chicken Thighs Every Time
While the recipe instructions are straightforward, a few expert tips can elevate your garlic butter baked chicken thighs from good to absolutely phenomenal:
- The Power of Patting Dry: This cannot be stressed enough. Moisture is the enemy of crispy skin. Dedicate a good minute or two to thoroughly patting down your chicken with paper towels before seasoning and searing.
- Don’t Crowd the Pan: Give each chicken thigh enough space to breathe in the skillet. If you cram too many pieces into one pan, the moisture released will steam the chicken instead of allowing it to sear and crisp up. Cook in batches if necessary, or use a larger pan.
- Use a Hot Skillet: A properly preheated skillet is essential for an immediate, effective sear. You should hear a distinct sizzle the moment the chicken touches the pan.
- Resist the Urge to Flip: Once the chicken thighs are skin-side down, let them be! Constant checking and flipping will disrupt the browning process. Let them cook undisturbed for the recommended time to develop that beautiful golden crust.
- Invest in a Meat Thermometer: This is your best friend for perfectly cooked chicken. It eliminates guesswork and ensures your chicken is safely cooked to 165°F (74°C) without becoming dry and overcooked.
- Let It Rest: Just like a good steak, chicken benefits immensely from a resting period after cooking. This allows the juices that have migrated to the center of the meat during baking to redistribute throughout, resulting in a more tender and juicy thigh.
- Consider a Broiler Finish (Optional): If you want truly extra-crispy skin, and your chicken is already cooked to temperature but the skin isn’t quite as browned as you like, you can carefully place the skillet under a hot broiler for 1-2 minutes. Watch it very closely to prevent burning.
How Long to Bake Chicken Thighs? A Comprehensive Guide
The baking time for chicken thighs can vary depending on whether they are bone-in or boneless, and their size. Here’s a general guideline to ensure your garlic butter chicken thighs are cooked perfectly:
- For Boneless Chicken Thighs: These typically cook faster. After searing, expect them to bake in the oven for approximately 15 to 20 minutes. Always check the internal temperature, as larger boneless thighs might need a few extra minutes.
- For Bone-In Chicken Thighs: These require a slightly longer baking period. After searing, they usually need around 25 to 30 minutes in the oven. The bone helps conduct heat, but also means it takes a little longer for the heat to penetrate fully.
Regardless of the type, the golden rule remains: Always use a meat thermometer to confirm doneness. The internal temperature, measured in the thickest part of the thigh (avoiding the bone), should reach 165°F (74°C). Factors like the actual size of your chicken thighs, the accuracy of your oven, and even the material of your baking dish can slightly influence cooking times, so the thermometer is your ultimate guide.
Storage and Reheating Best Practices
Proper storage and reheating ensure your delicious garlic butter baked chicken thighs remain fresh and flavorful for future meals. Don’t let any leftovers go to waste!
- To Store: Once the chicken thighs have cooled completely to room temperature (within two hours of cooking), transfer them to an airtight container. They can be safely stored in the refrigerator for up to 4 days. Storing them in their cooking liquid or a bit of the garlic butter sauce can help maintain moisture.
- To Freeze: For longer storage, allow the cooked chicken to cool completely. Place individual thighs (or a few together, separated by parchment paper) into a freezer-safe container or heavy-duty freezer bag. Squeeze out as much air as possible to prevent freezer burn. Freeze for up to 3 months. Thaw overnight in the refrigerator before reheating.
- To Reheat:
- Oven Method (Recommended for Crispy Skin): This is the best method to revive that wonderful crispy skin. Preheat your oven to 350°F (175°C). Place the chicken thighs on a baking sheet. You can add a splash of chicken broth or a pat of butter to the bottom of the pan to help keep them moist. Reheat for 15-20 minutes, or until warmed through and the skin has re-crisped.
- Microwave Method (Not Recommended for Skin): While convenient, reheating in the microwave will almost certainly result in soggy skin. If time is of the essence and crispness isn’t a priority, microwave in short bursts (30-60 seconds) until heated through, flipping halfway.
Flavor Variations & Customizations
While this garlic butter baked chicken thigh recipe is perfect as is, it’s also wonderfully adaptable! Feel free to experiment with these simple variations to tailor the flavors to your preference:
- Herbaceous Boost: Incorporate fresh sprigs of rosemary or thyme along with the garlic in the butter sauce for an added layer of aromatic depth. Finely chopped fresh sage or oregano would also be fantastic.
- A Zesty Twist: Finish the dish with a squeeze of fresh lemon juice or a sprinkle of lemon zest after baking. The bright acidity will cut through the richness of the butter and awaken the flavors.
- Spicy Kick: For those who love a bit of heat, add a pinch of red pepper flakes to the garlic butter, or sprinkle some smoked paprika or a dash of cayenne pepper over the chicken before baking.
- Sweet & Savory: A drizzle of honey or maple syrup over the chicken in the last 10 minutes of baking can create a beautiful glaze and a delightful balance of sweet and savory notes.
- Mustard Magic: Whisk a teaspoon of Dijon mustard into the garlic butter for a tangy, pungent flavor that complements chicken beautifully.
- Cheese Please: A sprinkle of freshly grated Parmesan cheese over the chicken in the last few minutes of baking can add a crispy, cheesy crust.
Perfect Pairings: What To Serve With Your Garlic Butter Baked Chicken Thighs
These flavorful chicken thighs are incredibly versatile and pair well with a wide variety of side dishes. Here are some of my favorite recommendations to complete your meal:
- Roasted Vegetables: A classic pairing! A medley of roasted broccoli, carrots, bell peppers, or zucchini tossed with olive oil, salt, and pepper complements the chicken beautifully and adds a healthy touch. Their natural sweetness and slightly caramelized edges are a fantastic contrast.
- Mashed Potatoes: Creamy, comforting mashed potatoes are perfect for soaking up every last drop of that savory garlic butter sauce. You can even add a touch of roasted garlic to the potatoes for an extra layer of flavor.
- Roasted Green Beans: Simple, crisp-tender roasted green beans offer a fresh, vibrant side that’s quick to prepare and highly nutritious. A squeeze of lemon juice enhances their flavor.
- Roasted Sweet Potatoes: For a touch of sweetness and a different texture, roasted sweet potato wedges or cubes are an excellent choice. Their earthy flavor works wonderfully with the rich chicken.
- Broccoli Salad: If you prefer a lighter, refreshing side, a crunchy broccoli salad with a tangy dressing provides a fantastic textural and flavor contrast.
- Fluffy Rice or Quinoa: A simple bed of steamed white rice, brown rice, or quinoa is ideal for absorbing the delicious pan juices, ensuring no flavor goes to waste.
- Simple Green Salad: A crisp green salad with a light vinaigrette can offer a refreshing counterpoint to the richness of the chicken, cleansing the palate between bites.
Frequently Asked Questions (FAQs)
Here are answers to some common questions you might have about making garlic butter baked chicken thighs:
Q: Can I use boneless, skinless chicken thighs?
A: Yes, you can. However, keep in mind that boneless, skinless thighs will cook faster (typically 15-20 minutes in the oven after searing) and will not develop that crispy skin or quite the same depth of flavor as bone-in, skin-on thighs. Adjust cooking times accordingly and still aim for an internal temperature of 165°F (74°C).
Q: What if I don’t have an oven-safe skillet?
A: No problem! You can sear the chicken in any heavy-bottomed skillet on the stovetop. Once seared and the garlic butter sauce is prepared, carefully transfer the chicken thighs and the butter sauce to a regular baking dish or a sheet pan before moving it to the oven for baking.
Q: How do I prevent the garlic from burning?
A: The key is to add the garlic to the melted butter only after the chicken has been flipped, and to keep the heat at medium. Garlic burns quickly and can become bitter if overcooked. You only need to stir it for about 30 seconds until fragrant, not browned, before transferring the skillet to the oven. If your skillet is very hot, you might even consider briefly removing it from the heat when adding the garlic.
Q: Can I prepare this recipe ahead of time?
A: You can do some prep work in advance. You can pat dry and season the chicken thighs up to 24 hours ahead and store them in the refrigerator. You can also mince the garlic ahead of time. The actual cooking (searing and baking) is best done right before serving to ensure the crispiest skin and juiciest meat.
Q: How do I know when the chicken is fully cooked?
A: The most reliable way is to use a meat thermometer. Insert it into the thickest part of the chicken thigh, avoiding the bone. The chicken is fully cooked and safe to eat when it reaches an internal temperature of 165°F (74°C).
Garlic Butter Baked Chicken Thighs Recipe
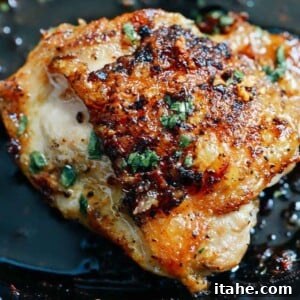
Garlic Butter Baked Chicken Thighs
Author: Olivia Ribas
Servings: 5 people
Prep Time: 10 minutes
Cook Time: 35 minutes
Total Time: 45 minutes
Summary: Garlic Butter Baked Chicken Thighs are the ultimate solution for a flavorful and easy weeknight dinner. These oven-baked chicken thighs are perfectly seasoned and coated in a rich garlic butter sauce, which makes the meat juicy and tender. Ready in just 45 minutes, these thighs with crispy, golden skin are perfect for busy families looking for a delicious and easy dinner.
Ingredients
- 5 chicken thighs (skin on and bone in)
- Salt and black pepper (to taste)
- 1 tablespoon olive oil
- 1/4 cup butter (unsalted preferred)
- 5 cloves garlic (crushed or minced)
- Fresh parsley (chopped, for garnish – optional)
Instructions
- Preheat your oven to 400°F (200°C). Position an oven rack in the center. Pat chicken thighs thoroughly dry with paper towels and season generously all over with salt and black pepper.
- Heat olive oil in a cast iron skillet (10-inch or larger, oven-safe) over medium-high heat. Place the chicken thighs skin-side down in a single layer and sear for 5-7 minutes until the skin is golden brown and crispy. Flip the chicken over once the skin is crispy. If desired, spoon out any excess fat from the pan.
- In the same skillet, add the butter to an empty spot. Once melted, add the crushed garlic. Stir the garlic into the butter for about 30 seconds until fragrant, being careful not to burn it.
- Place the entire skillet into the preheated oven and bake for 25-30 minutes, or until the chicken reaches an internal temperature of 165°F (74°C) when measured with a meat thermometer in the thickest part of the thigh, avoiding the bone. If the skin starts to get too dark, you can loosely tent it with foil.
- Once cooked, remove from the oven and spoon some of the garlic butter sauce over the top of each chicken thigh. Let the chicken rest for 5-10 minutes before serving. Garnish with fresh chopped parsley, if desired.
Notes
- If you do not have an oven-safe skillet, you can transfer the seared chicken thighs and garlic butter sauce to a regular baking dish or sheet pan to bake.
- After baking, letting the chicken thighs rest for a few minutes before serving is crucial. This allows the juices to redistribute, resulting in incredibly tender and moist meat.
Nutrition
Serving: 1/5 of recipe, Calories: 214kcal, Carbohydrates: 1g, Protein: 15g, Fat: 18g, Cholesterol: 96mg, Sodium: 130mg, Potassium: 15mg.
Nutrition information is automatically calculated and should be used as an approximation only.
Did You Make This?
We absolutely love seeing your culinary creations! Share your beautiful photos on Instagram and tag @primaverakitchen, using the hashtag #primaverakitchen. We can’t wait to see your delicious recreation of these garlic butter baked chicken thighs!