
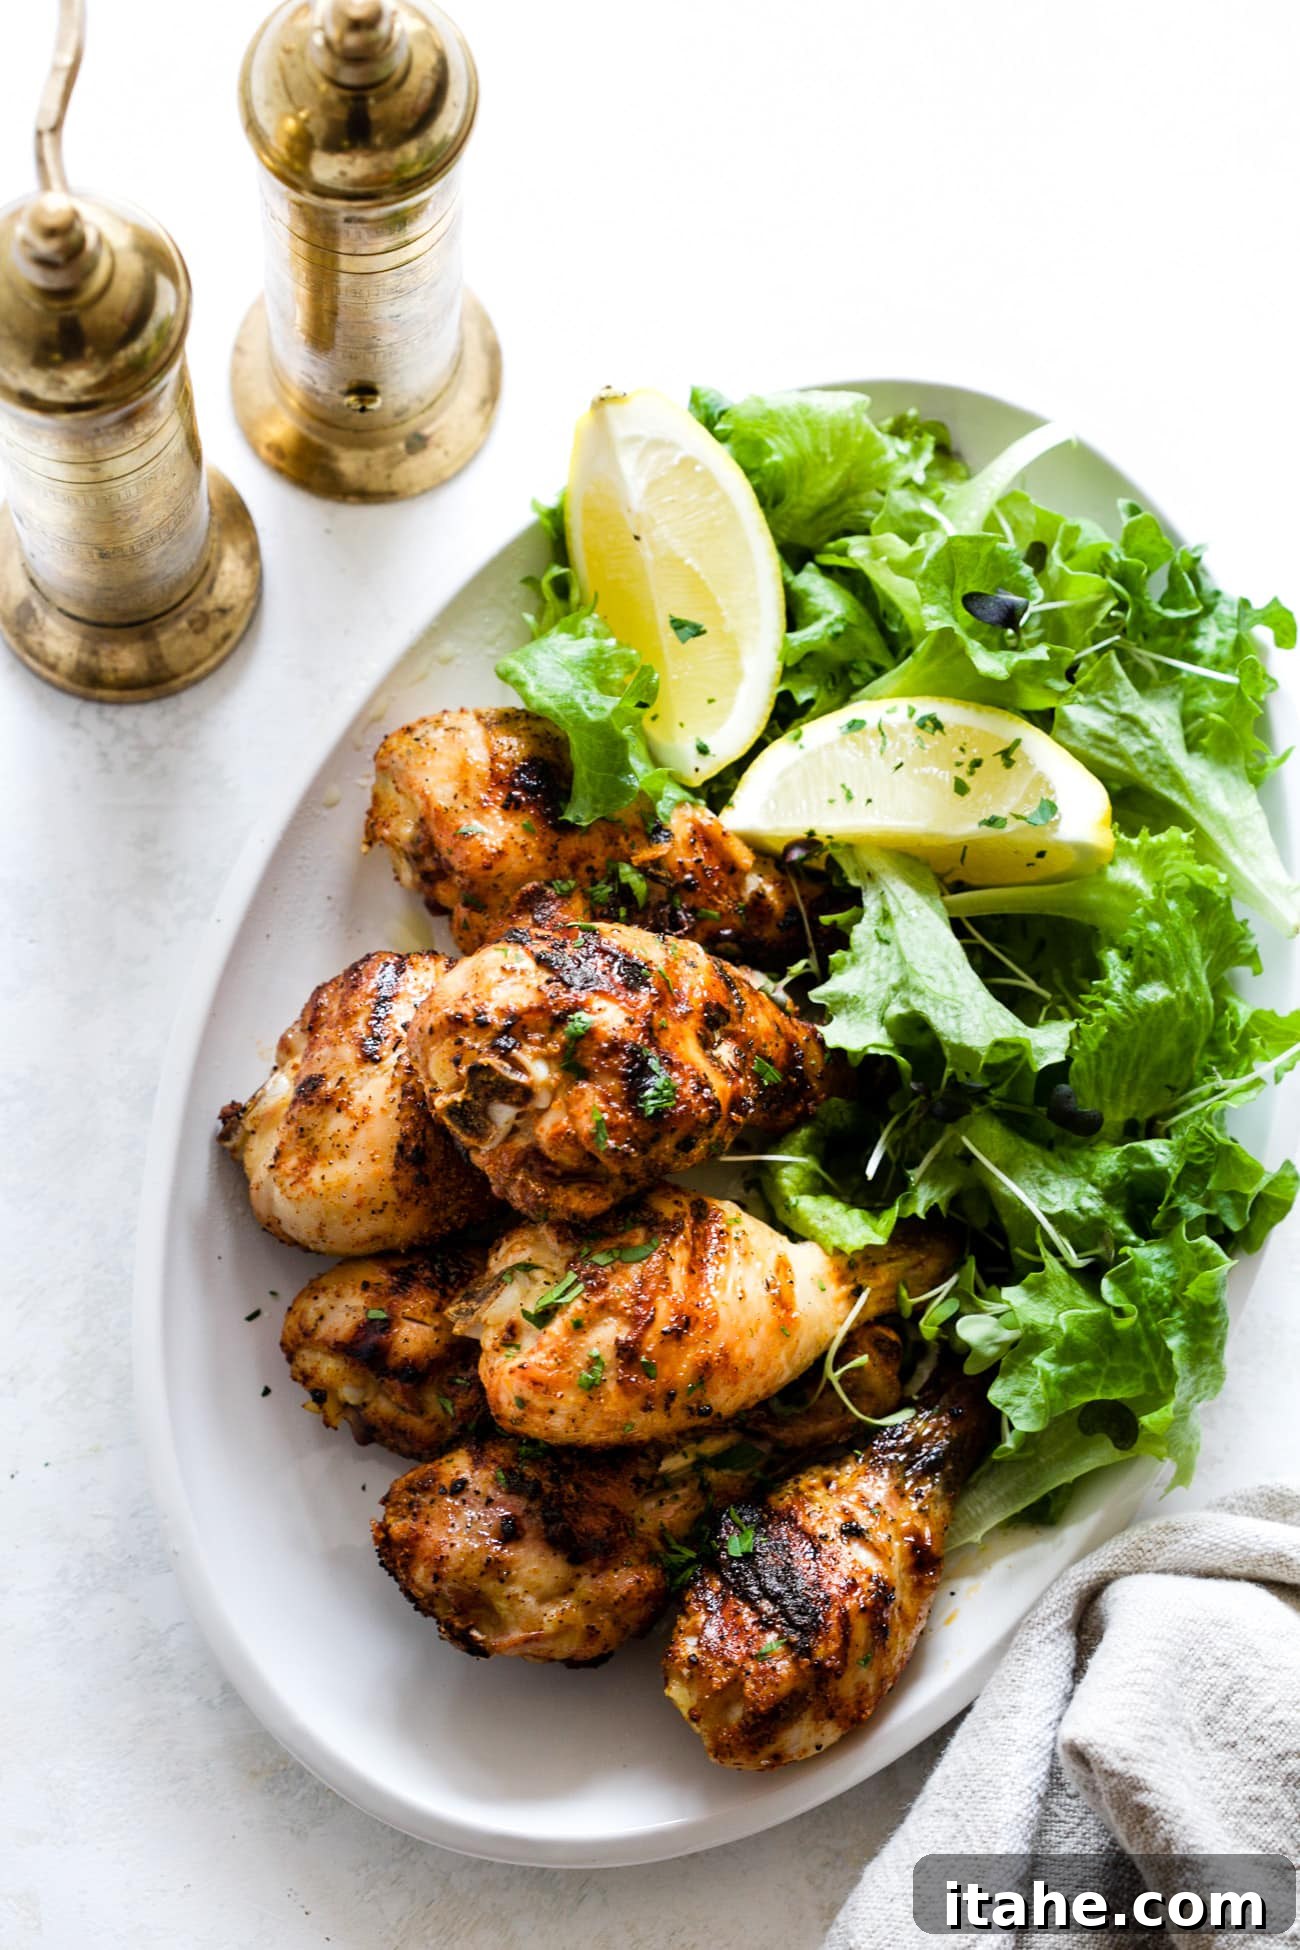
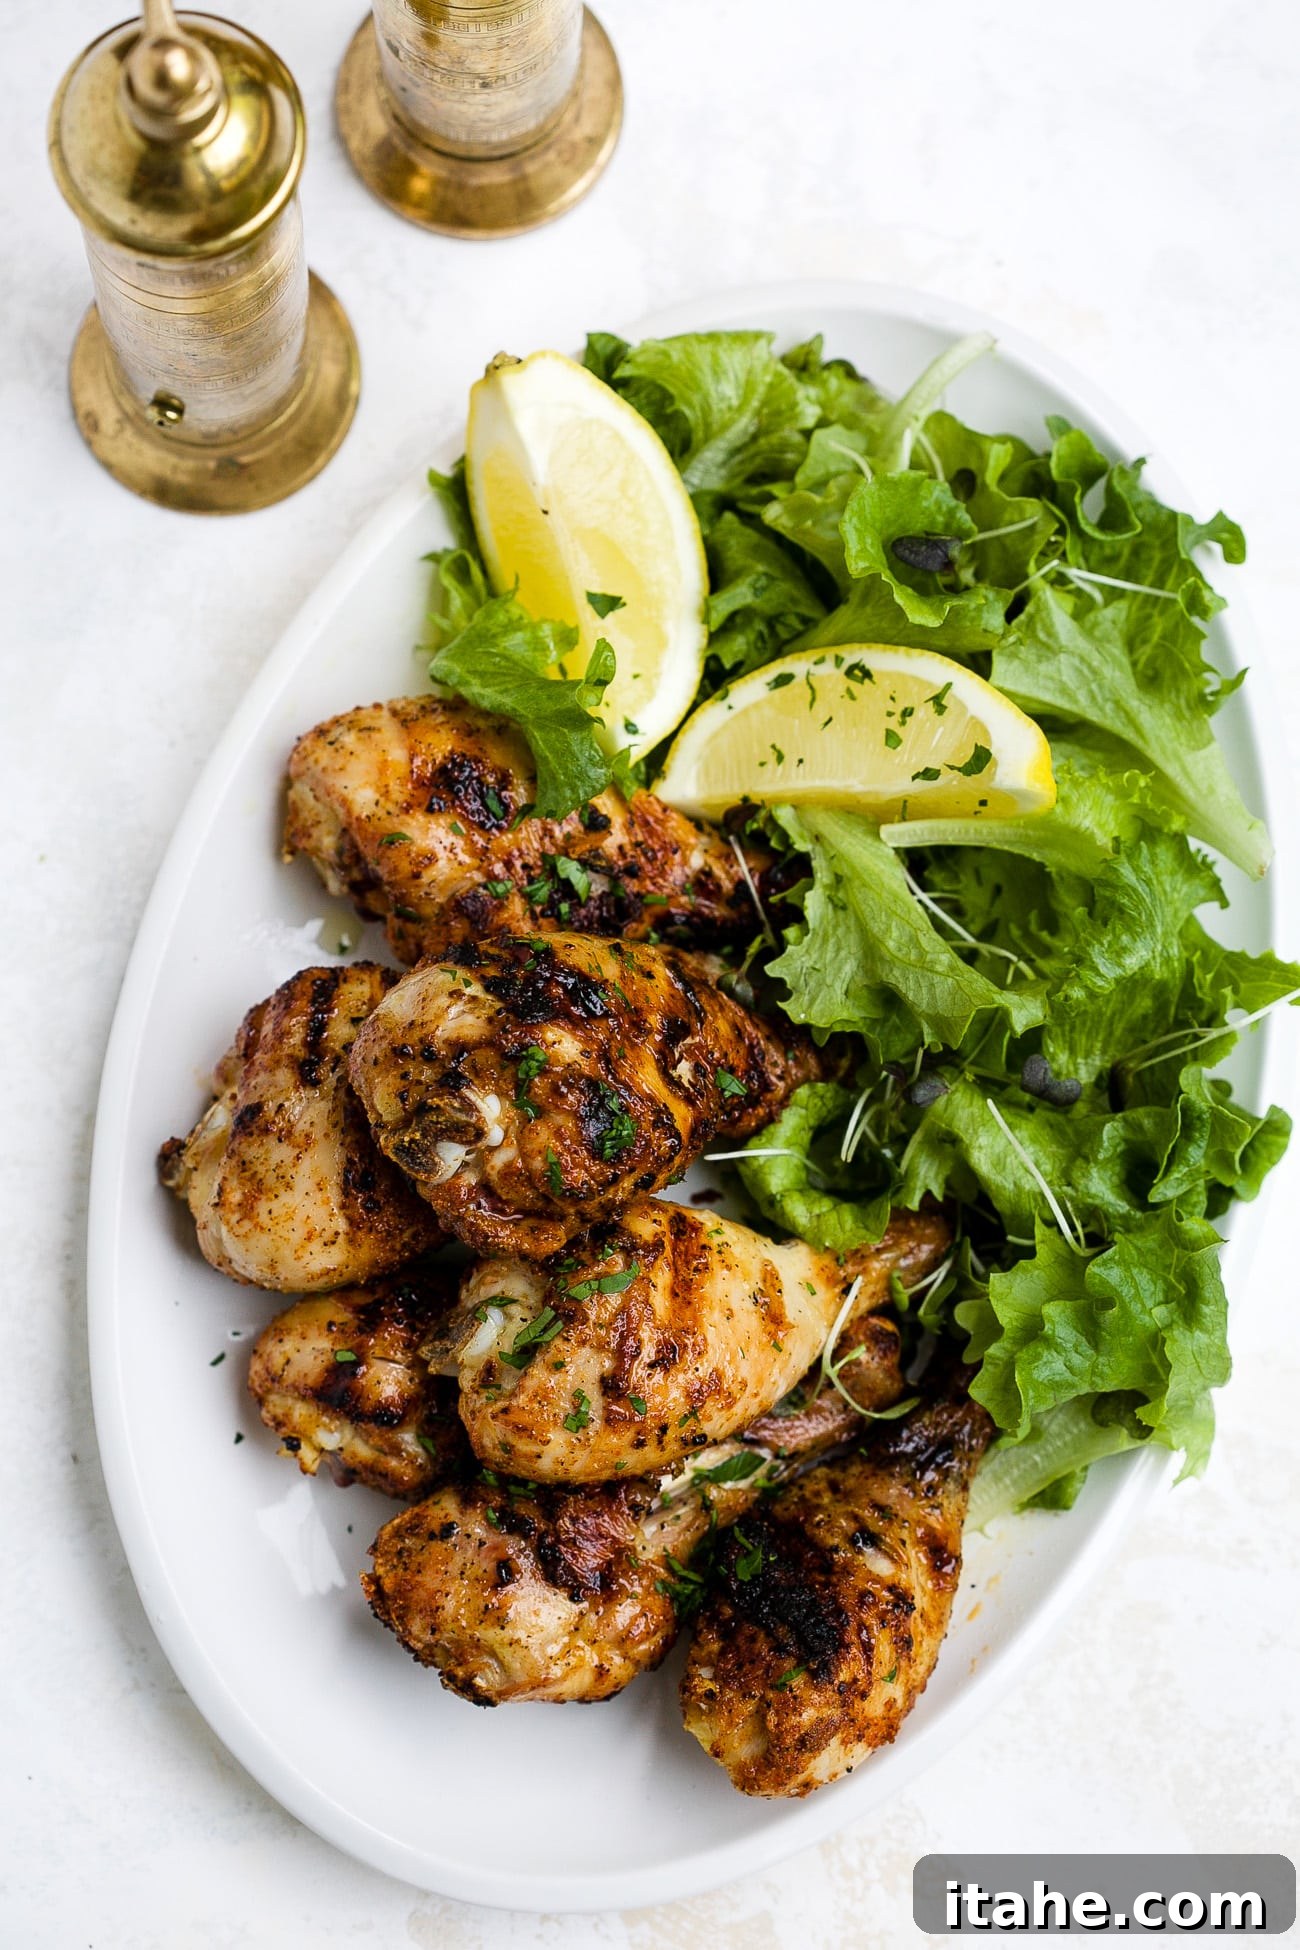
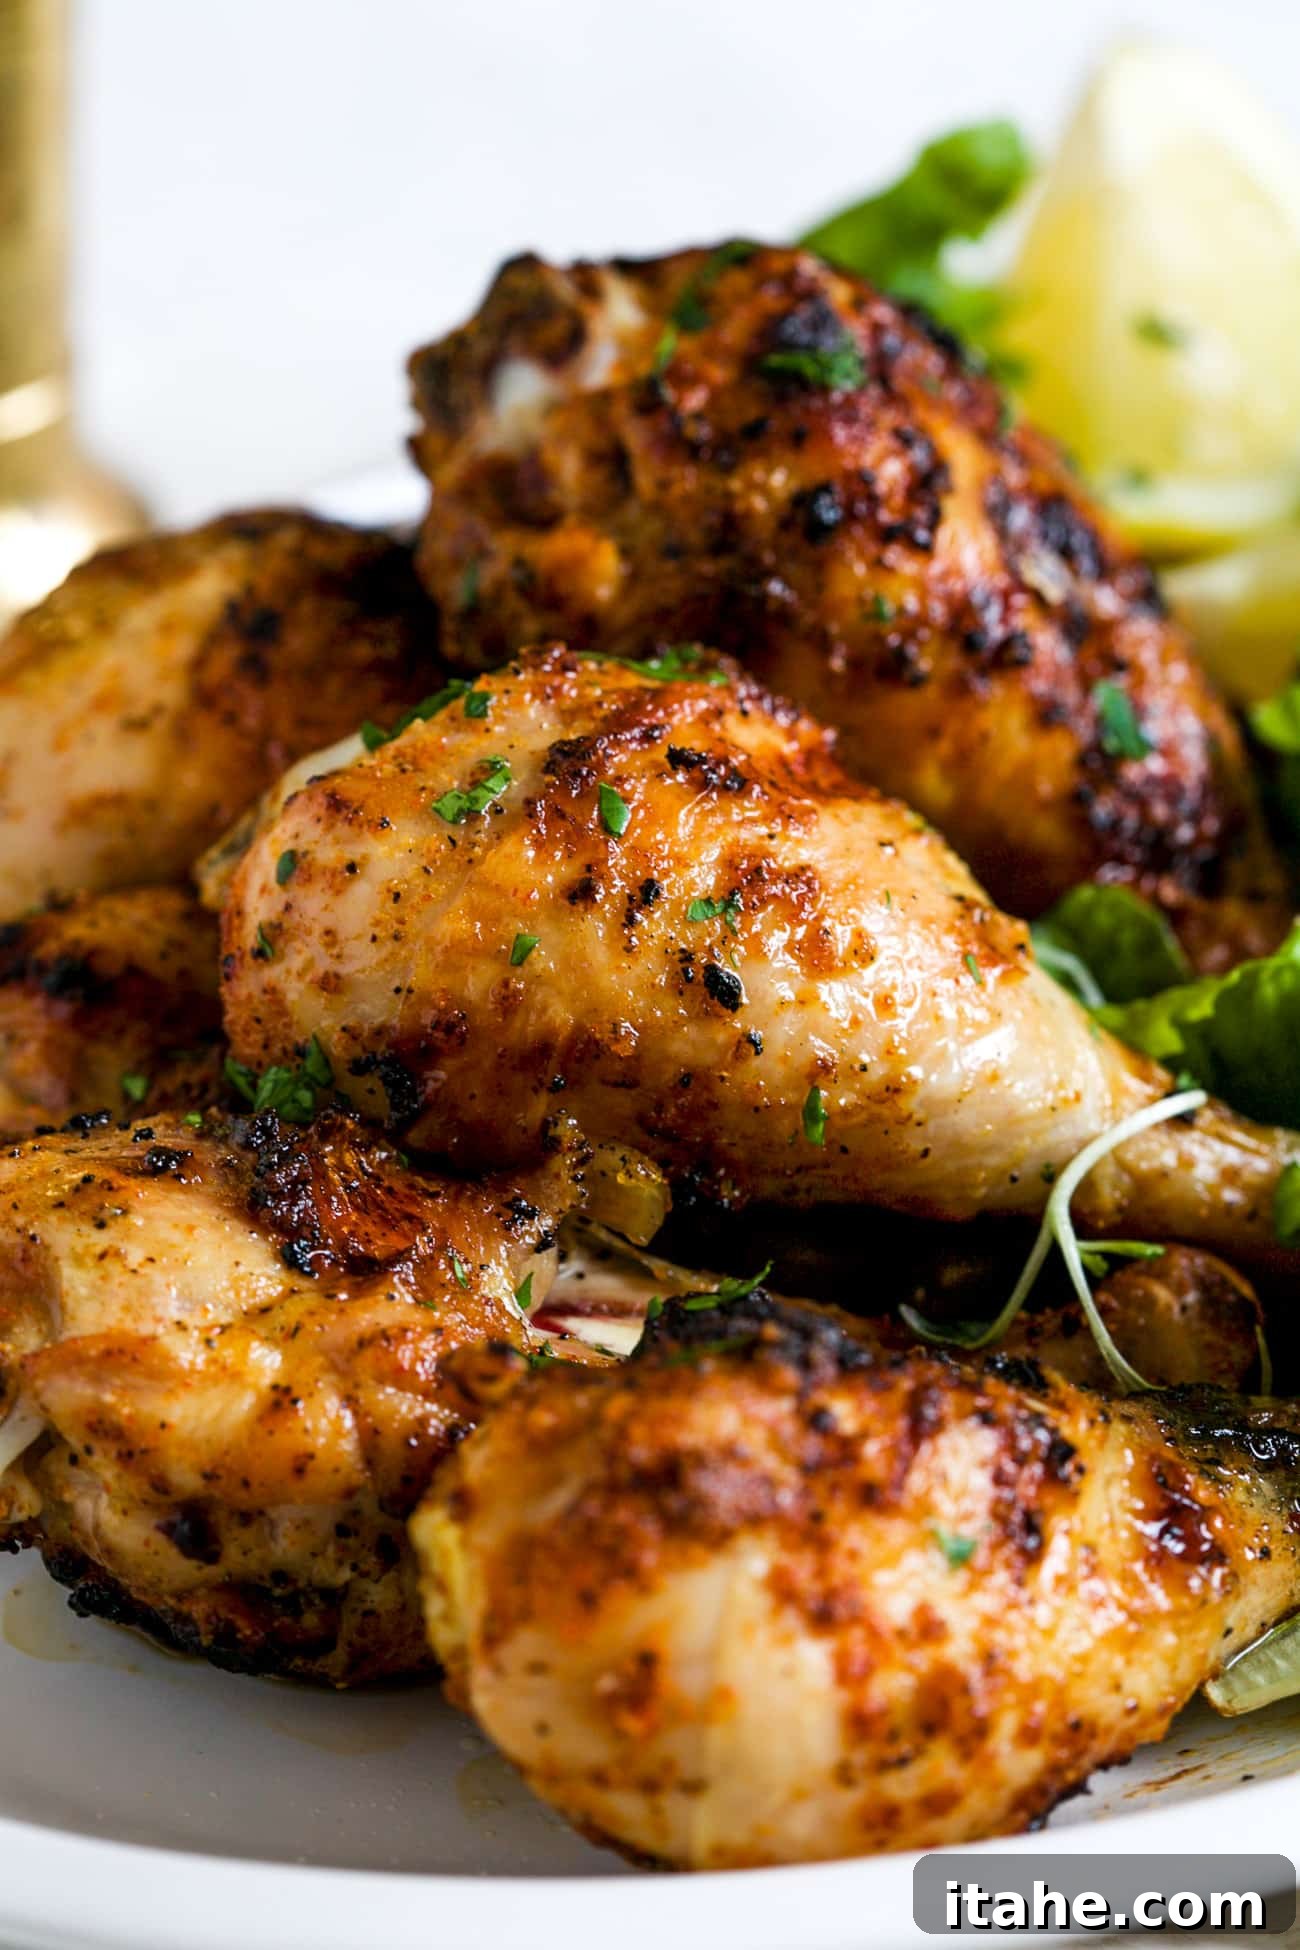
Welcome to your new go-to recipe for the most succulent and flavorful grilled chicken legs! Imagine sinking your teeth into tender, juicy chicken, encased in a perfectly crispy, caramelized skin, all infused with a sweet and smoky BBQ rub. This isn’t just a meal; it’s a summer celebration on a plate. Quick, easy, and incredibly satisfying, this dish is designed to become a family favorite you’ll crave all season long. Whether you’re a seasoned grill master or just starting your outdoor cooking journey, this recipe promises delicious results with minimal fuss.
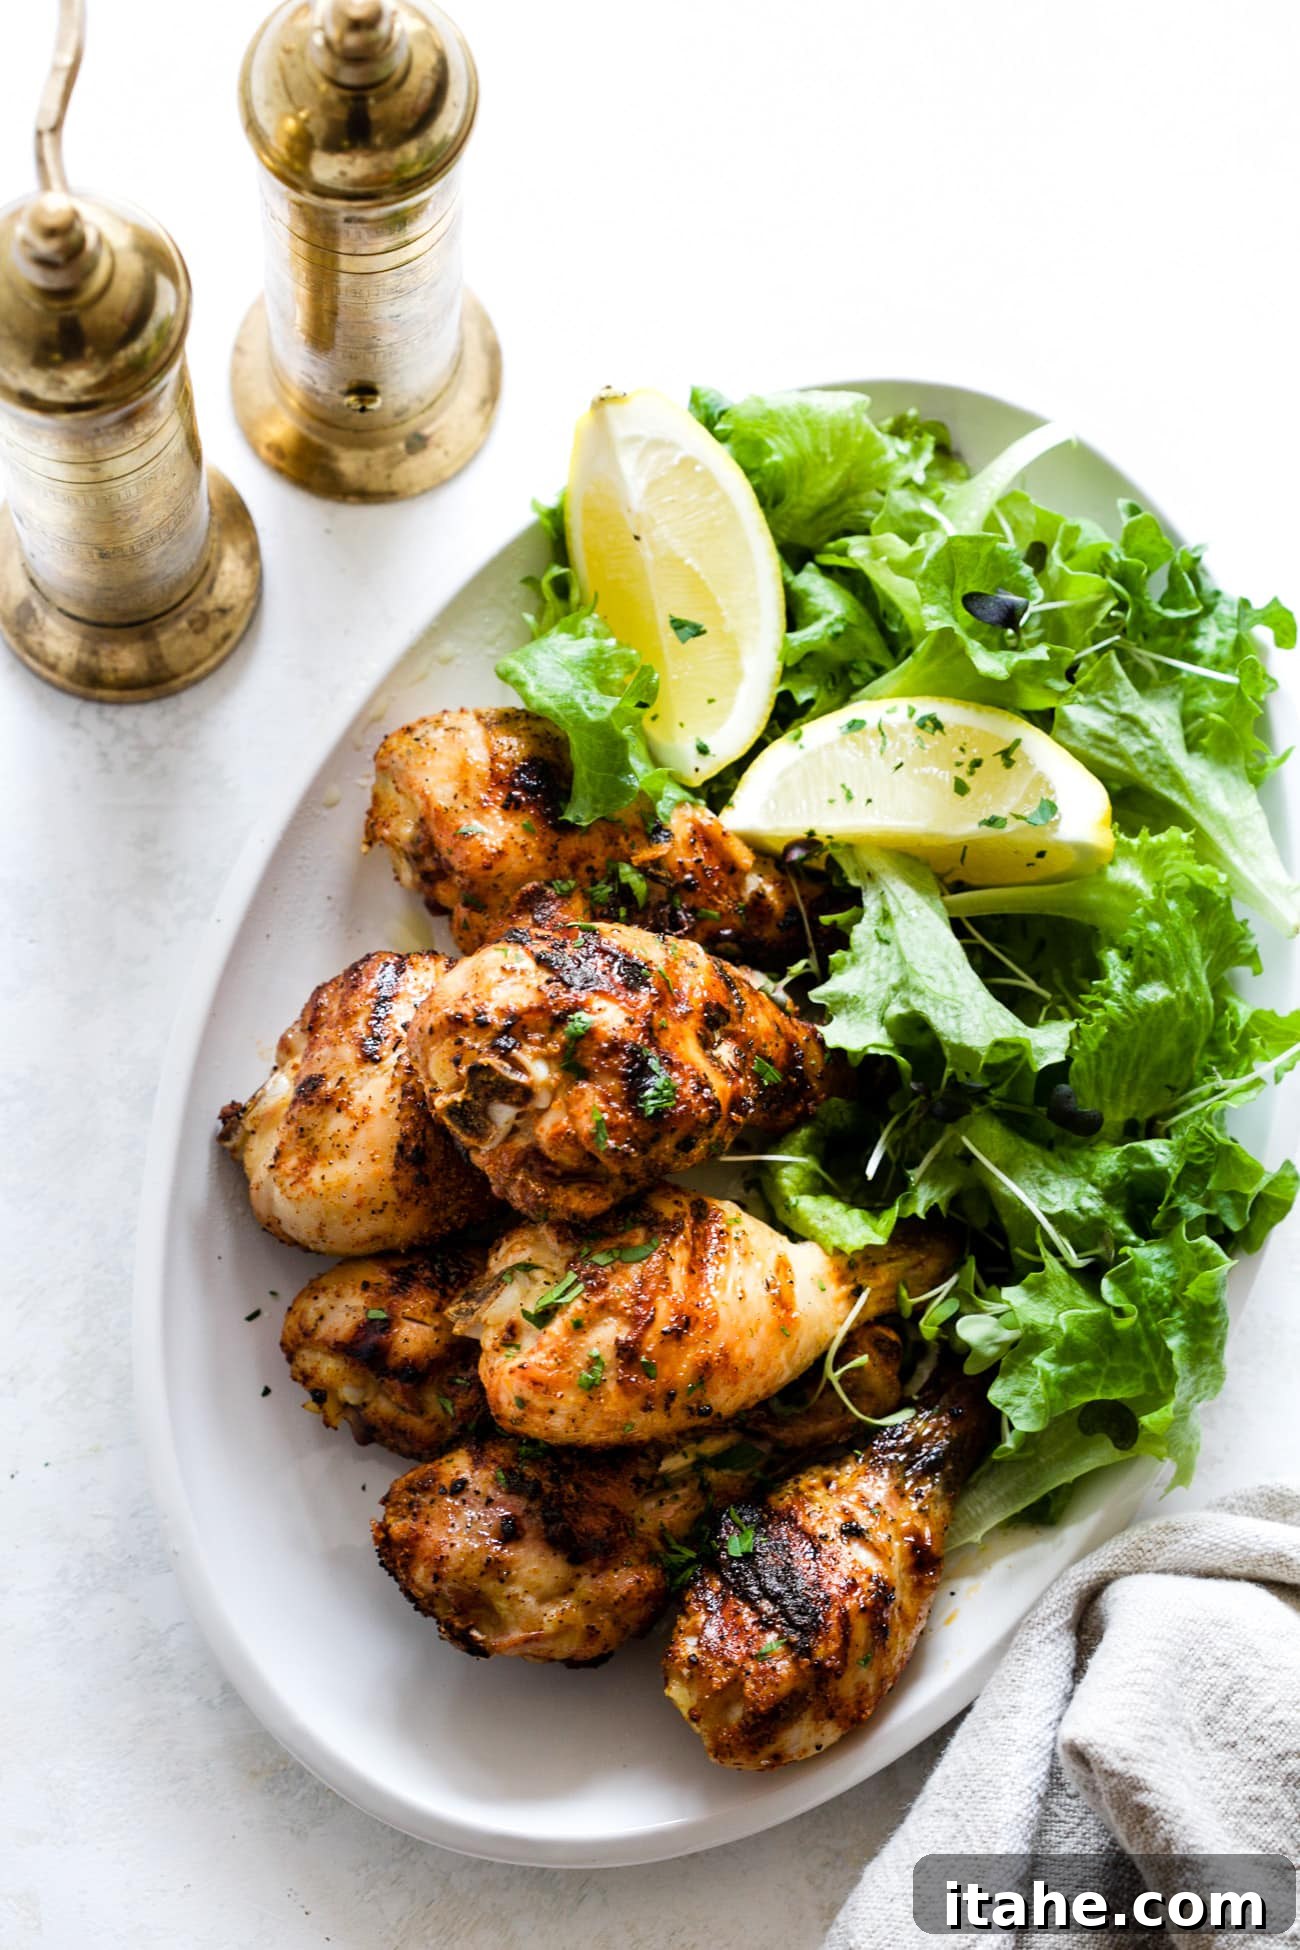
If you’re a fan of the irresistible flavors of grilled chicken, you’ll undoubtedly appreciate these other fantastic recipes: Grilled Chicken Salad, a light and refreshing option; Grilled Pineapple Chicken, offering a delightful sweet and savory combination; and Grilled Chicken Cabbage Salad, perfect for a crisp and vibrant meal.
Why Grill Chicken Legs? The Ultimate Summer Dish
Grilled chicken legs, often called drumsticks, are an absolute staple for summer barbecues and weeknight dinners alike. But why choose legs over other cuts of chicken? Several reasons make them a superior choice for grilling:
- Incredible Flavor and Juiciness: Chicken legs are dark meat, meaning they have a higher fat content than breasts. This natural fat renders beautifully on the grill, keeping the meat incredibly moist and tender, and infusing it with a rich, satisfying flavor that white meat simply can’t match.
- Crispy Skin Perfection: The skin on chicken legs is a blank canvas for deliciousness. When grilled correctly, it transforms into a deeply golden-brown, irresistibly crispy layer that locks in moisture and adds a delightful textural contrast to the tender meat. Our special BBQ rub enhances this effect, ensuring a caramelized finish.
- Budget-Friendly: Chicken legs are typically one of the most economical cuts of chicken available, making this a fantastic option for feeding a crowd without breaking the bank. You get maximum flavor for minimal cost.
- Ease of Preparation: While they look impressive, grilled chicken legs are surprisingly simple to prepare. Our recipe focuses on a straightforward dry rub and direct grilling method, making it accessible even for beginner grillers.
- Versatility: Chicken legs are incredibly versatile. They pair well with virtually any side dish, from fresh salads and grilled vegetables to hearty potato dishes. They can be seasoned in countless ways, allowing you to experiment with different flavor profiles.
For all these reasons, grilled chicken legs are not just a meal; they’re an experience – promising juicy meat, crispy skin, and an explosion of flavor that will have everyone reaching for seconds.
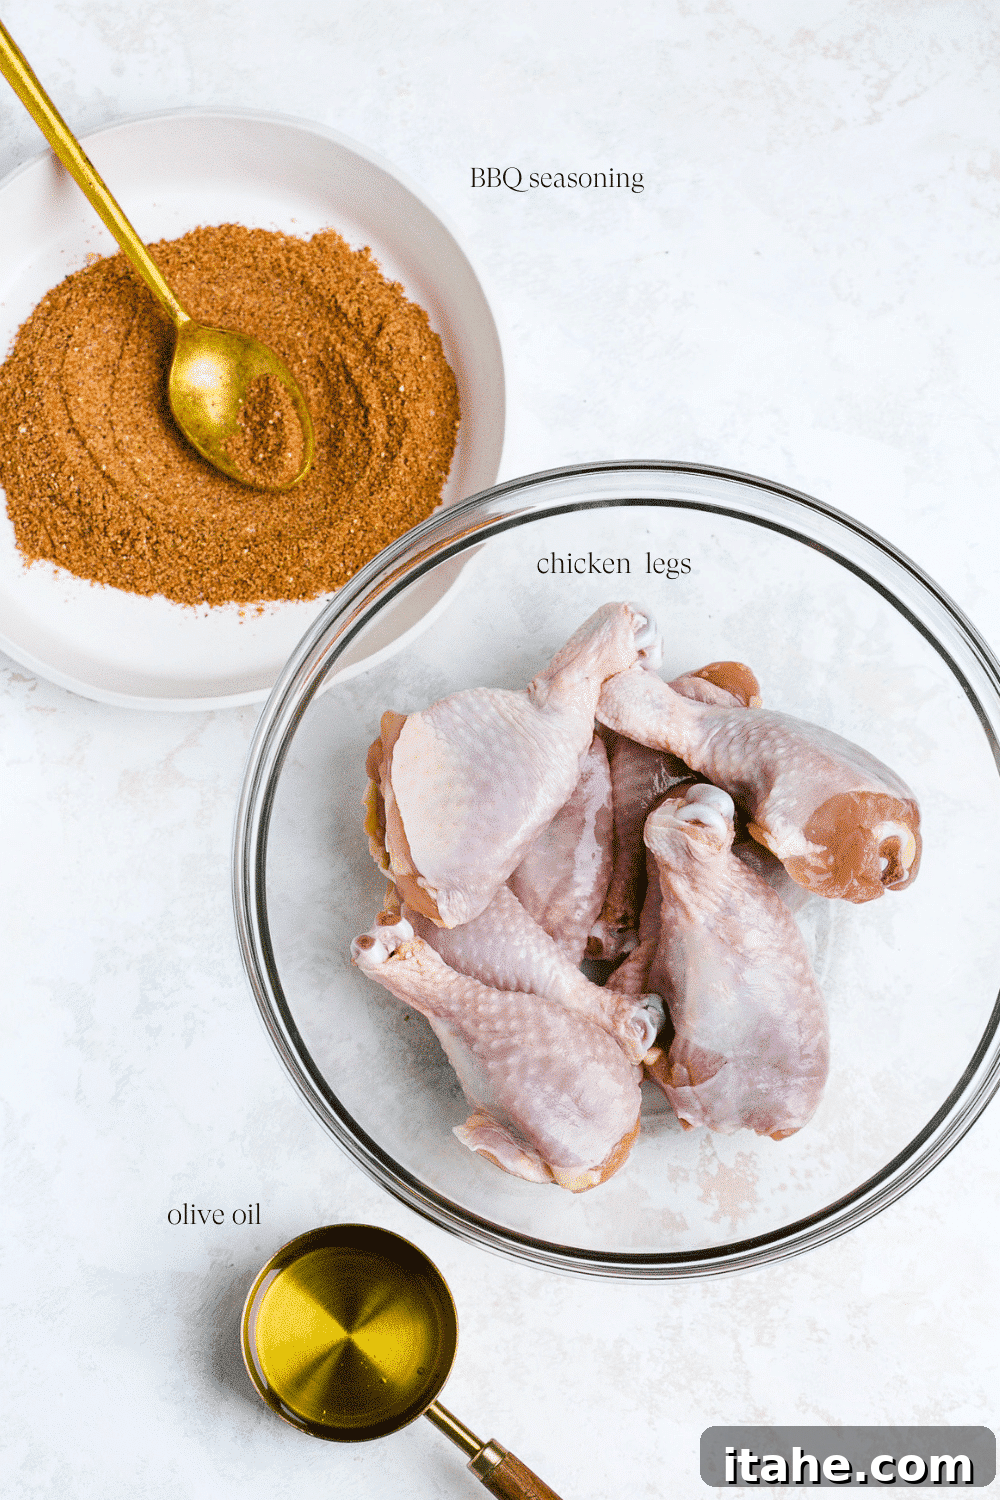
How To Make Perfectly Grilled Chicken Legs
Achieving perfectly grilled chicken legs is simpler than you might think. This guide will walk you through each step, ensuring juicy meat and crispy skin every time. For full details and exact measurements, please refer to the comprehensive recipe card below.
Essential Ingredients for Flavorful Grilled Chicken Legs
- Chicken Legs (Drumsticks): The star of our dish! Always select fresh chicken legs that have been properly handled and stored. Pay close attention to the sell-by date on the packaging to ensure it hasn’t expired. If purchasing from a butcher, look for plump, moist-looking chicken with no signs of discoloration or unpleasant odor. For the best results, opt for skin-on chicken legs, as the skin plays a crucial role in keeping the meat juicy and developing that desirable crispy texture.
- Olive Oil: A light coating of olive oil helps the seasoning adhere to the chicken, prevents sticking to the grill grates, and contributes to a beautiful sear and golden-brown skin.
-
Homemade BBQ Seasoning Blend: This carefully crafted spice rub is the heart of our flavor profile, combining pantry staples for a balance of sweet, smoky, and zesty notes.
- Smoked Paprika: Delivers a deep, earthy smokiness that is fundamental to BBQ flavor.
- Garlic Powder: Adds a savory depth that complements the chicken beautifully.
- Onion Powder: Provides a subtle, sweet onion flavor, rounding out the savory elements.
- Brown Sugar: Absolutely essential! This ingredient isn’t just for sweetness; it’s key to achieving that fantastic caramelization and crispiness on the chicken skin, creating a delicious crust.
- Chili Powder: Offers a mild warmth and complex blend of spices, adding a hint of kick without being overly spicy.
- Ground Mustard: Contributes a tangy, sharp note that cuts through the richness of the chicken and enhances the overall spice blend.
- Kosher Salt: Crucial for seasoning the chicken from within and drawing out its natural flavors.
- Black Pepper: Adds a classic pungent heat, completing the savory foundation.
This blend ensures every bite is packed with perfectly balanced BBQ goodness!
Step-by-Step Grilling Instructions
- Prepare Your Grill: Begin by ensuring your grill grates are clean. Use a grill brush to remove any residue from previous cooks. Once clean, lightly oil the grates using a paper towel dipped in vegetable oil or a dedicated grill spray. This step is crucial to prevent the chicken from sticking.
- Preheat to Perfection: Fire up your grill and preheat it to a medium-high temperature, aiming for approximately 400-425°F (200-220°C). Allowing your grill to fully preheat ensures even cooking and helps achieve that desirable crispy skin.
- Pat Dry the Chicken: While the grill heats, remove the chicken legs (drumsticks) from their packaging. Using paper towels, thoroughly pat them dry on all sides. This step is incredibly important as removing excess moisture promotes a crispier skin and allows the seasoning to adhere better. Moist chicken tends to steam rather than sear.
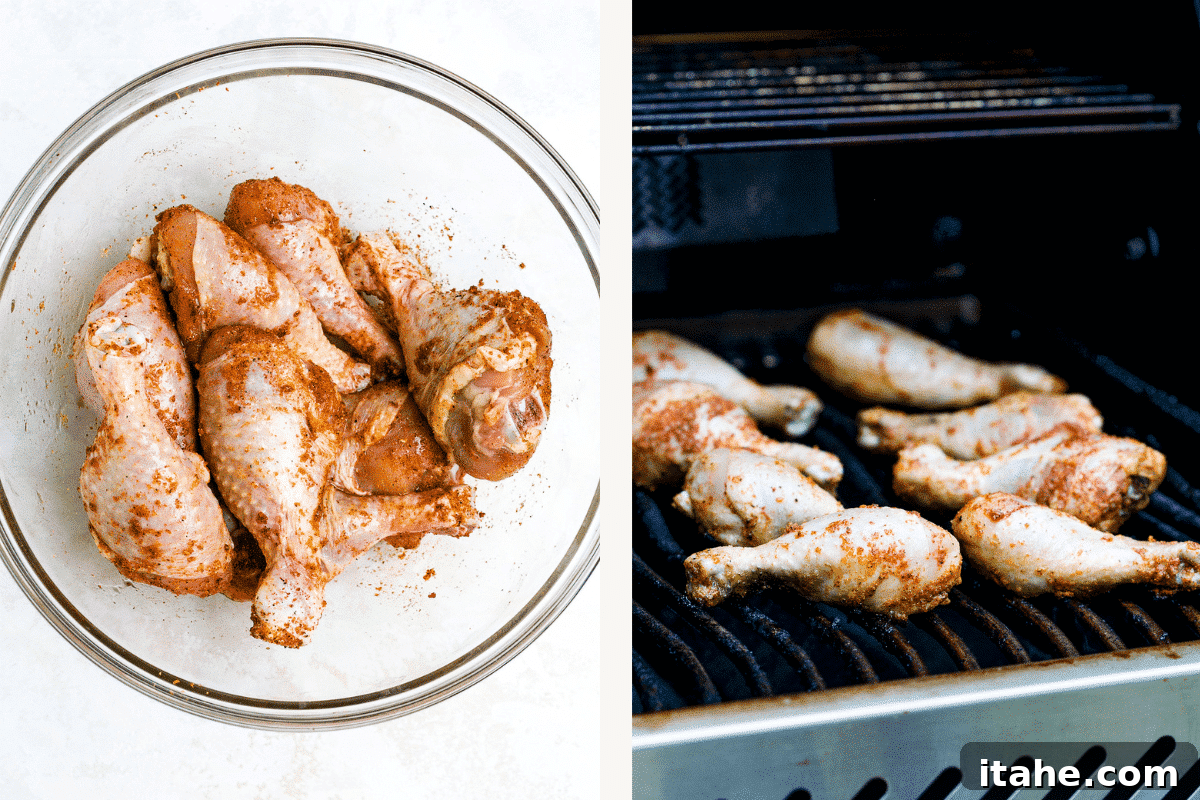
- Season with Our Signature Rub: In a large mixing bowl, combine the pat-dried chicken legs with the olive oil. Then, generously sprinkle the homemade BBQ seasoning blend (smoked paprika, garlic powder, onion powder, brown sugar, chili powder, ground mustard, kosher salt, and black pepper) over the chicken. Toss thoroughly to ensure every drumstick is evenly coated with the delicious rub. You can use your hands for this to really work the seasoning into the skin.
- Grill to Golden Perfection: Once your grill reaches the target temperature, carefully arrange the seasoned chicken legs directly over the heat, ensuring there’s enough space between each piece for even cooking. Close the lid and grill for approximately 25 minutes, flipping the chicken every 5 minutes. This regular flipping helps to prevent burning and encourages even cooking and browning on all sides, resulting in a perfectly crispy skin. Continue grilling until the internal temperature reaches a safe 170-175°F (77-79°C) when measured with an instant-read meat thermometer inserted into the thickest part of the leg without touching the bone. The skin should be beautifully golden brown and crispy.
- Rest and Serve: Once cooked, remove the grilled chicken legs from the grill and transfer them to a clean serving platter or cutting board. Lightly tent them with aluminum foil and allow them to rest for 5-10 minutes. This resting period is vital, as it allows the juices to redistribute throughout the meat, ensuring every bite is incredibly tender and moist. After resting, they are ready to serve and enjoy!
Mastering the Grill: Essential Tips for Success
- When it comes to grilling chicken legs, selecting the right ones is the first step towards a truly delicious and satisfying meal. Here are a few things to keep in mind when choosing chicken legs for your grill:
- Uniform Size is Key: Always choose chicken legs that are similar in size. This seemingly small detail is incredibly important for even cooking. If some legs are significantly larger than others, you risk overcooking the smaller pieces while the larger ones remain undercooked. Aim for consistency to ensure every piece is perfectly done.
- Skin-On for Supreme Juiciness and Crispiness: While skinless chicken might seem healthier, for grilling chicken legs, opt for skin-on every time. The skin acts as a natural protective barrier, helping to keep the meat moist and tender during the high heat of grilling. More importantly, the skin, when rendered and crisped, adds an unparalleled texture and flavor that elevates the entire dish.
- Inspect for Freshness: Before purchasing, take a moment to inspect the chicken legs. Look for a healthy, uniform pink color. Avoid any chicken that shows signs of discoloration (greyish or greenish tints) or bruising. The chicken should also have a very mild, fresh smell; any strong or off-putting odor indicates spoilage.
- The Magic of Patting Dry: As mentioned in the instructions, don’t skip the step of thoroughly patting the chicken dry with paper towels. This removes surface moisture, which is critical for achieving a crispy skin and allowing your seasoning to form a flavorful crust. Without this step, your chicken is more likely to steam than grill, resulting in rubbery skin.
- Temperature Control is Your Best Friend: For chicken legs, a medium-high direct heat is ideal. This allows the skin to crisp up and the meat to cook through without drying out. However, if you notice excessive charring or flare-ups, don’t hesitate to move the chicken to a cooler part of the grill or temporarily adjust the heat.
- Use a Meat Thermometer: The most accurate way to tell if your chicken is cooked through is with an instant-read meat thermometer. Insert it into the thickest part of the meat, avoiding the bone. Chicken legs are safely cooked when they reach an internal temperature of 165°F (74°C). However, for dark meat like chicken legs, many prefer to cook them to 170-175°F (77-79°C) for even more tenderness and flavor, as the collagen breaks down beautifully at this slightly higher temperature.
Recipe Variations: Explore New Flavors
While our classic BBQ rub is undeniably delicious, grilled chicken legs are incredibly versatile and lend themselves beautifully to a myriad of flavor variations. Don’t hesitate to get creative and customize this recipe to your palate!
-
Marinating for Deep Flavor Infusion: Marinating chicken legs is an excellent way to infuse them with profound flavor and tenderize the meat. To prepare a delicious chicken marinade, start with a base of olive oil or another neutral oil, and an acid like vinegar or lemon juice. Then, layer in your desired spices, herbs, and aromatics.
- Asian-Inspired Marinade: Combine soy sauce, honey, minced garlic, grated ginger, a splash of sesame oil, and a pinch of red pepper flakes for a sweet and savory kick.
- Mediterranean Zest: Whisk together olive oil, lemon juice, dried oregano, thyme, rosemary, minced garlic, and a touch of Dijon mustard.
- Spicy Kick: For those who love heat, add cayenne pepper, a dash of hot sauce, smoked paprika, garlic, and onion powder to your oil and vinegar base.
Place your chicken legs in a large resealable plastic bag or a shallow dish and pour the marinade over them, ensuring they are fully coated. Seal the bag and refrigerate for at least two hours, or ideally, overnight for the best results and deepest flavor penetration.
-
Experimenting with Seasoning Blends: Beyond our recommended BBQ rub, the world of seasoning is vast. You can use either a dry rub or a wet rub to coat your chicken.
- Dry Rubs: These are mixtures of dry ingredients. Beyond our blend, consider a classic Cajun seasoning (paprika, cayenne, garlic powder, onion powder, thyme, oregano), a vibrant lemon-herb blend (lemon zest, dried parsley, dill, garlic powder), or a fiery jerk seasoning. Simply rub the blend liberally over the pat-dried chicken legs, ensuring even coverage.
- Wet Rubs/Pastes: These involve mixing dry spices with a wet ingredient like oil, mustard, or Worcestershire sauce to form a paste. A simple wet rub can be made with oil, brown sugar, chili powder, and a touch of apple cider vinegar. Apply the wet rub with your hands or a basting brush.
- Achieving the Perfect Char and Glaze: To develop an even deeper flavor and a beautiful, glistening finish on your chicken legs, consider brushing them with a little extra oil, a simple glaze, or your favorite barbecue sauce during the last few minutes of grilling. This adds an extra layer of flavor and helps create a lovely, slightly charred exterior. Be careful not to apply sugary sauces too early, as they can burn easily. Let the chicken legs rest for a few minutes before serving to lock in all those incredible juices and flavors.
Storage and Reheating for Best Results
After you’ve savored your perfectly grilled chicken legs, proper storage and reheating are key to enjoying delicious leftovers. Here’s how to keep them fresh and tasty:
Refrigerate: To store leftover grilled chicken legs, allow them to cool completely to room temperature first. This prevents condensation from forming inside the container, which can make the chicken soggy. Transfer the cooled chicken legs to an airtight container. They will remain fresh and delicious in the refrigerator for up to 3-4 days. If you’re storing multiple chicken legs, you might consider layering them with small pieces of parchment paper to prevent them from sticking together, though this is optional.
Reheat for Optimal Flavor: There are several excellent methods for reheating these BBQ chicken drumsticks, each offering slightly different results:
- Oven Method: For the crispiest results, preheat your oven to 375°F (190°C). Place the chicken legs on a baking sheet lined with foil or parchment paper. Reheat for 15-20 minutes, or until thoroughly heated through and the skin has re-crisped.
- Air Fryer Method: The air fryer is fantastic for bringing back that crispy skin! Preheat your air fryer to 350°F (175°C). Place the chicken legs in a single layer in the air fryer basket. Cook for 8-12 minutes, flipping halfway, until hot and crispy.
- Microwave Method: While convenient, the microwave will result in less crispy skin. If time is of the essence, place chicken legs on a microwave-safe plate, cover loosely with a paper towel, and heat in 1-minute intervals until warmed through.
Freeze for Long-Term Storage: Grilled chicken legs freeze exceptionally well, making them perfect for meal prepping. Once the cooked chicken legs have cooled completely, wrap each drumstick tightly in plastic wrap, then place them in a freezer-safe bag or an airtight freezer container. Label with the date and store in the freezer for up to 3 months. When ready to enjoy, thaw overnight in the refrigerator before reheating using your preferred method.
What To Serve With Delicious Grilled Chicken Legs
Grilled chicken legs are incredibly versatile and pair beautifully with a wide array of side dishes. Here are some fantastic ideas to complete your meal:
- Grilled Vegetables: A classic and perfect pairing for grilled meats. Try grilling up some corn on the cob, vibrant bell peppers, tender zucchini, or smoky eggplant for a colorful and flavorful addition to your meal. The smoky char from the grill complements the chicken wonderfully.
- Hearty Potato Sides: A classic summer side dish like potato salad is always a crowd-pleaser and pairs perfectly with the rich flavor of grilled chicken. For something warmer, consider roasted potatoes or a light and creamy mashed potato dish.
- Fresh Green Salads: A crisp, leafy green salad provides a refreshing contrast to the richness of the chicken. Options like this arugula salad with its peppery bite or a vibrant sweet potato arugula salad offer both flavor and texture. A simple garden salad with a light vinaigrette is also an excellent choice.
- Cool & Creamy Slaws: A classic coleslaw or a creamy broccoli slaw offers a delightful crunch and tangy counterpoint to the smoky chicken.
- Rice or Quinoa Dishes: A side of fluffy white rice, brown rice, or a healthy quinoa salad can absorb the delicious juices from the chicken and provide a satisfying base for your meal.
Frequently Asked Questions (FAQ) About Grilled Chicken Legs
Got questions about grilling chicken legs? Here are answers to some common inquiries to help you achieve grilling success.
-
Q: Can I use boneless, skinless chicken for this recipe?
A: While you certainly can use boneless, skinless chicken thighs or breasts, the cooking time will be significantly shorter (often 8-12 minutes total). Keep in mind that boneless, skinless cuts won’t yield the same crispy skin or the rich, deep flavor that bone-in, skin-on chicken legs provide. If using them, ensure they are still patted dry and cooked to an internal temperature of 165°F (74°C). -
Q: How do I prevent the chicken from burning on the grill?
A: Several factors contribute to burning. First, ensure your grill grates are clean and oiled. Second, maintain a consistent medium-high heat (400-425°F or 200-220°C); if it’s too hot, the exterior will burn before the interior cooks. Third, and most importantly, flip the chicken regularly (every 5 minutes as instructed) to ensure even cooking and browning without scorching one side. If flare-ups occur from dripping fat, temporarily move the chicken to a cooler part of the grill until the flames subside. -
Q: What if I don’t have an outdoor grill? Can I still make this?
A: Absolutely! You can achieve similar results using an indoor grill pan or baking them in the oven. For a grill pan, follow the same instructions, ensuring the pan is well-oiled and preheated. For oven baking, preheat your oven to 400°F (200°C), place seasoned chicken legs on a wire rack set over a baking sheet, and bake for 35-45 minutes, flipping halfway, until the internal temperature reaches 170-175°F (77-79°C) and the skin is golden and crispy. -
Q: How can I tell if the chicken is fully cooked without a thermometer?
A: While a meat thermometer is the most reliable tool, you can make an educated guess by piercing the thickest part of the chicken leg with a knife. If the juices run clear, it’s likely cooked. If the juices are still pink or red, it needs more time. However, for food safety, investing in an instant-read thermometer is highly recommended.
More Irresistible Chicken Recipes
Grilled Chicken Wings Recipe
32 mins
Roasted Chicken Legs
40 mins
Garlic Butter Baked Chicken Drumsticks
45 mins
Cajun Grilled Chicken
45 mins
Irresistible Grilled Chicken Legs
Olivia Ribas
8
servings
10 minutes
5 minutes
25 minutes
40 minutes
Video
A video for this recipe is available on the original post.
Ingredients
-
8 chicken legs (skin-on) -
2 tbsp olive oil -
1 tbsp smoked paprika -
1 tbsp garlic powder -
2 tsp sea salt -
1 tsp brown sugar -
1 tsp onion powder -
1 tsp chili powder -
1 tsp ground mustard -
1 tsp black pepper
Instructions
-
First, ensure your grill grates are clean and oil them thoroughly to create a nonstick surface.
-
Preheat your grill to medium-high heat. The ideal temperature should be around 400 – 425°F (200-220°C).
-
While the grill preheats, thoroughly pat dry the chicken legs (drumsticks) with paper towels to remove any excess moisture.
-
In a large bowl, add the pat-dried chicken legs, olive oil, and all the seasoning ingredients listed above. Toss everything together until the chicken is evenly coated with the spice mix. Cover the bowl and set it aside to allow the flavors to meld while the grill heats.
-
Once your grill is preheated, arrange the seasoned chicken drumsticks/legs directly on the grill grates, ensuring they are spaced out evenly. Close the lid and grill for approximately 25 minutes, making sure to flip them every 5 minutes. Continue grilling until the chicken is cooked through and reaches an internal temperature of 170-175°F (77-79°C) when checked with an instant-read meat thermometer. The skin should be golden brown and delightfully crispy.
-
Remove the perfectly grilled chicken from the grill, place them on a serving tray, and cover lightly with foil. Allow them to rest for 5-10 minutes before serving. This crucial resting period ensures the juices redistribute throughout the meat, making it exceptionally tender and moist. Enjoy your delicious grilled chicken legs!
Notes
- Remember to always thoroughly pat dry the chicken drumsticks before applying seasoning. This eliminates excess moisture, which is essential for the olive oil and seasoning to adhere properly and prevents the chicken from steaming rather than searing on the grill, ensuring a crispy skin.
- If you are uncertain about whether the chicken is cooked through, always use an instant-read meat thermometer. Insert it into the thickest part of the chicken drumstick, making sure to avoid the bone. The safe internal temperature for chicken is 165ºF (74°C), but for dark meat like legs, cooking to 170-175°F (77-79°C) often yields more tender and flavorful results.
- To store leftovers: Place cooled grilled chicken drumsticks into an airtight glass container and keep them in the refrigerator for up to 3-4 days.
- To reheat: Rewarm leftover chicken legs in the microwave for speed, the oven for best crispness, or an air fryer for a quick re-crisp.
- To freeze: For longer storage, wrap cooked chicken legs individually in plastic wrap once they’ve reached room temperature, then place them in a freezer-safe bag or container. Freeze for up to 3 months. Thaw in the refrigerator before reheating.
Nutrition
Calories: 277kcal,
Carbohydrates: 2g,
Protein: 19g,
Fat: 21g,
Cholesterol: 103mg,
Sodium: 687mg,
Potassium: 255mg
Nutrition information is automatically calculated and should only be used as an approximation. It may vary based on specific ingredients and preparation methods.