
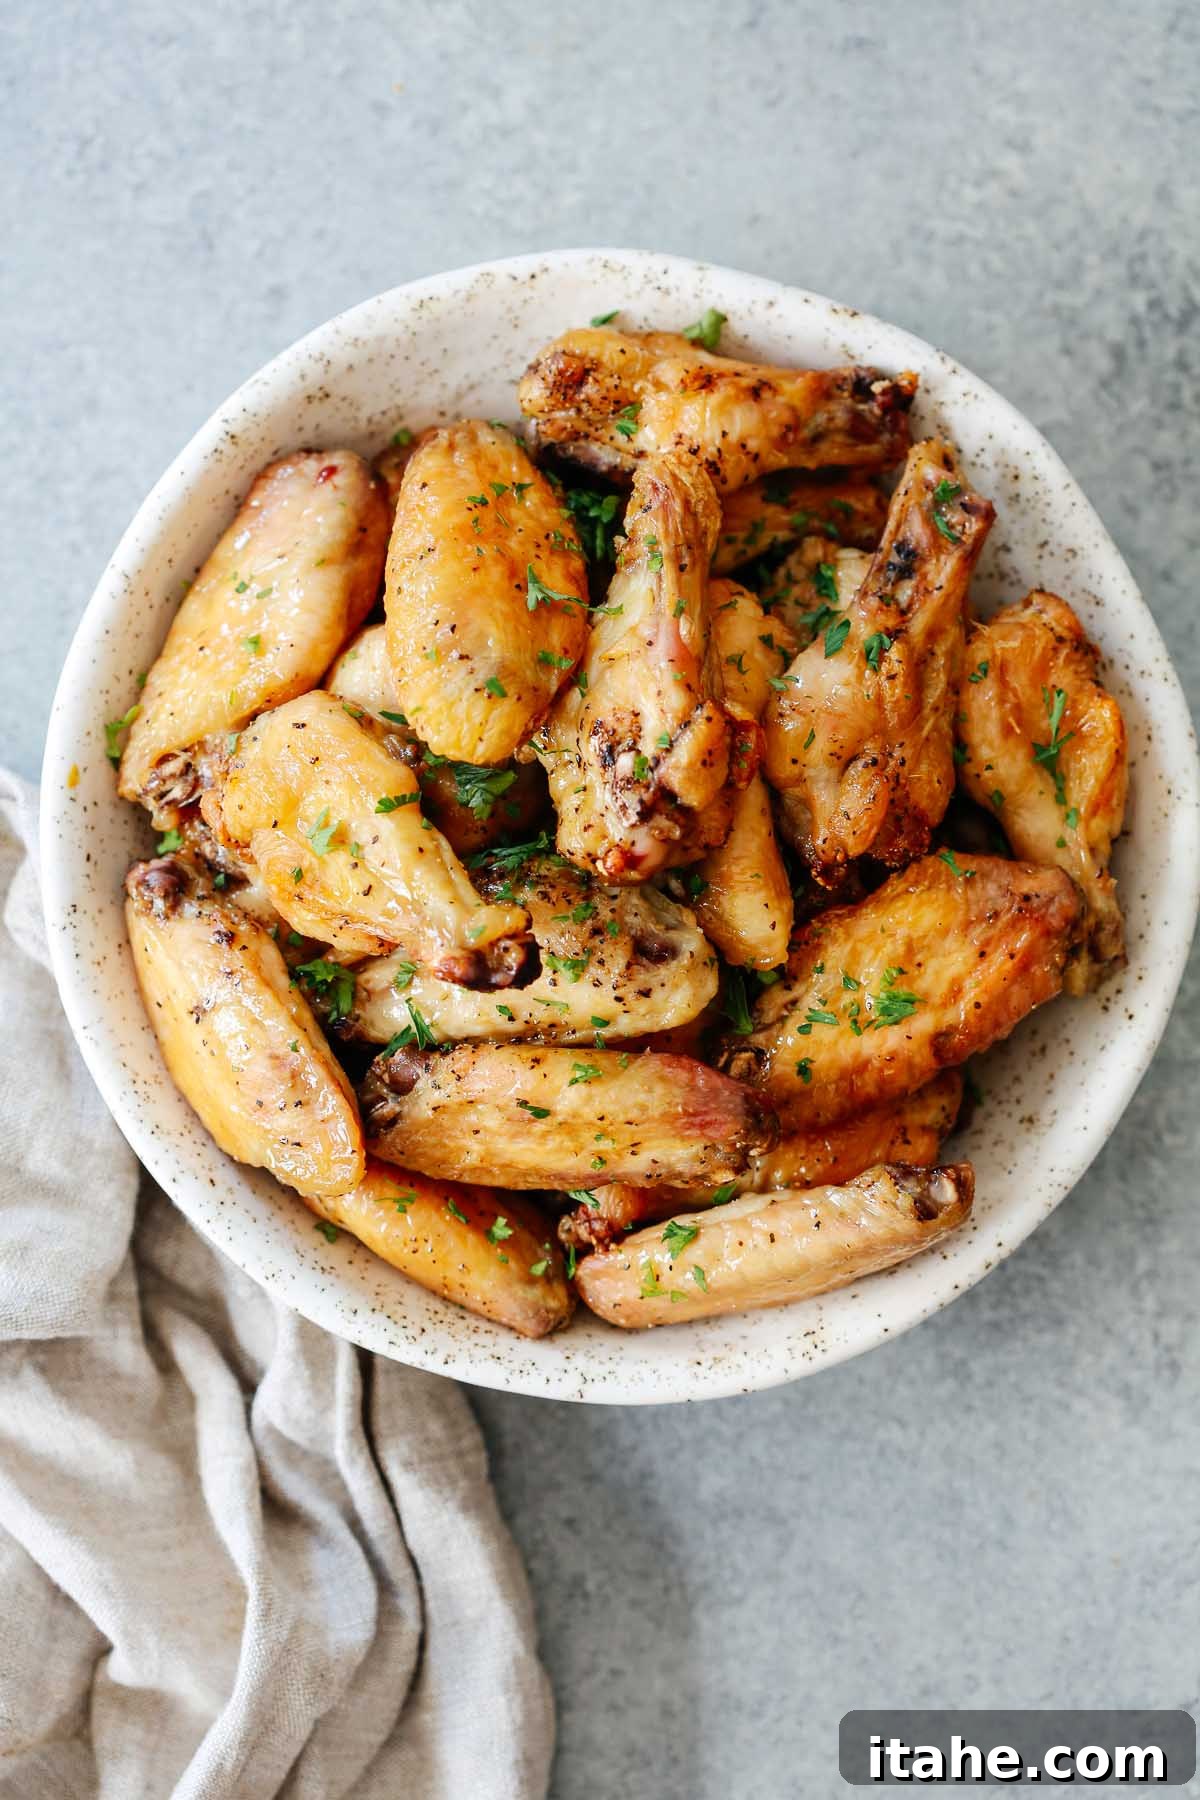
Craving the ultimate crowd-pleaser that’s both effortlessly delicious and surprisingly simple to make? Look no further than these spectacular Salt and Pepper Chicken Wings! Forget the deep fryer, the greasy mess, and the expensive takeout. We’re about to transform humble chicken wings into a crispy, golden, and utterly addictive culinary masterpiece, right in your own oven.
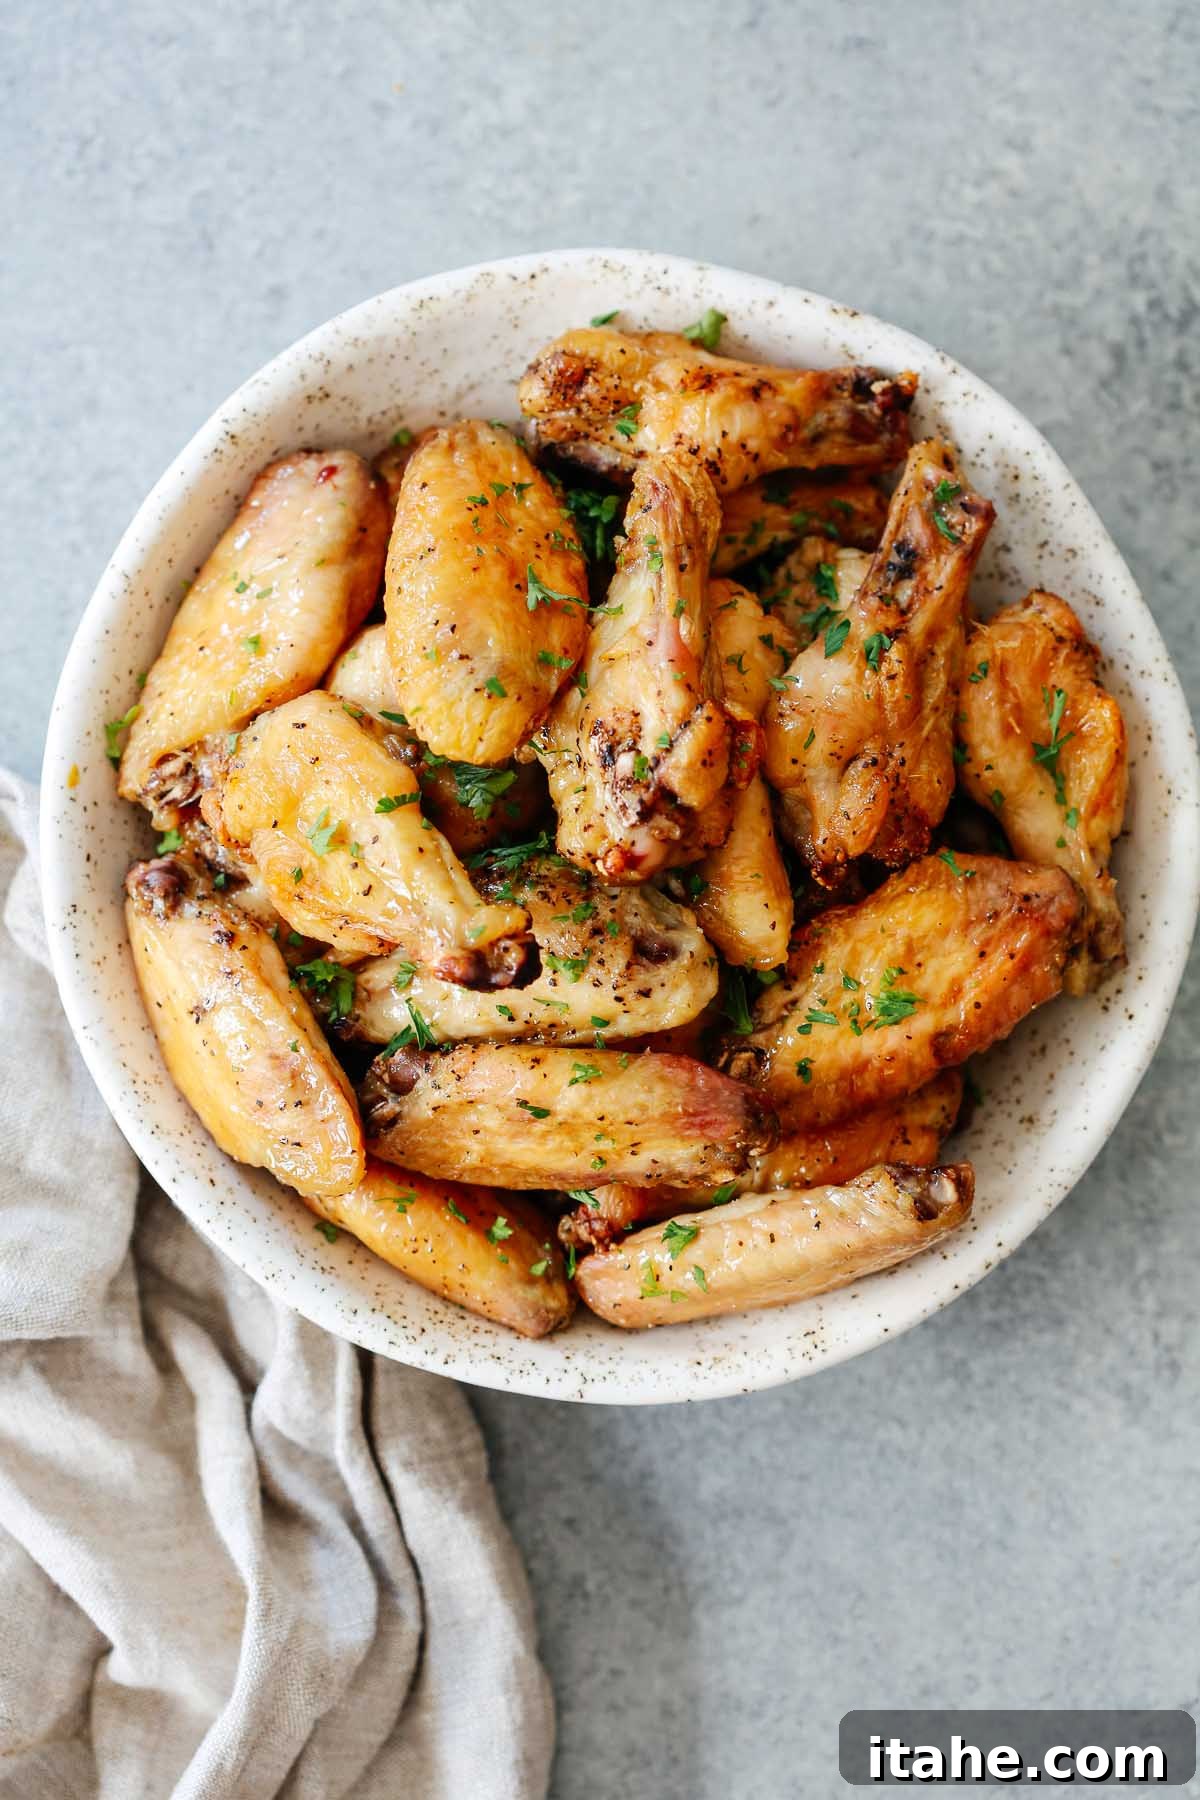
Chicken wings are a universal language of flavor, and when done right, they disappear faster than you can say “more, please!” My family and I are absolute devotees to crispy chicken wings. There’s an unparalleled satisfaction in that initial bite, the audible crunch of perfectly rendered skin, followed by tender, juicy meat. It’s a sensory experience that’s hard to beat.
Many home cooks believe achieving restaurant-quality crispiness requires a special deep fryer or a trip to a commercial kitchen. But I’m here to demystify the process and prove that you can achieve incredibly golden, shatteringly crisp wings at home with just your standard oven. No deep frying means these wings are significantly less oily, healthier, and much easier to clean up after than their fried counterparts. This isn’t a complicated fried chicken recipe or a fuss-inducing stir-fry; it’s a straightforward method that delivers big on flavor and texture, making it ideal for large batches perfect for parties, game nights, or just a fantastic family dinner.
If you’re looking to explore more crispy wing options, you might also enjoy these related recipes: Classic Baked Chicken Wings and Air Fryer Chicken Wings.
Essential Ingredients for Perfect Salt and Pepper Wings
This recipe truly shines in its simplicity, relying on a few high-quality pantry staples to deliver maximum flavor. Here’s what you’ll need:
- Chicken Wings: The star of the show! For convenience and even cooking, I always recommend using pre-cut “party wings” or individual “wingettes and drumettes.” If you buy whole wings, simply separate the drumette, flat, and tip (discard the tip or save for stock).
- Olive Oil: A light coating of oil is crucial for helping the seasoning adhere and for achieving that desirable crisp skin. Extra virgin olive oil adds a lovely nuanced flavor, but if you prefer, any neutral cooking oil like vegetable oil, canola oil, or even melted butter will work beautifully.
- Black Pepper: Freshly ground black pepper makes a remarkable difference. The aroma and pungent flavor of pepper that’s just been cracked far surpass pre-ground varieties. Use a pepper grinder for the best results. For a slightly different profile, white pepper can also be used.
- Salt: Kosher salt is my go-to for its pure flavor and larger crystals, which make it easier to season evenly without over-salting. Fine sea salt also works well. The right amount of salt is key to unlocking the full potential of the chicken’s flavor and contributing to the crispiness.
- Fresh Parsley or Green Onions: These are optional, but a sprinkle of fresh, vibrant green herbs like chopped parsley or thinly sliced green onions adds a beautiful pop of color and a refreshing counterpoint to the rich wings, making them even more appealing.
Gathering these simple ingredients is the first step towards creating an unforgettable batch of homemade salt and pepper wings.
Step-by-Step Instructions: Mastering Salt and Pepper Chicken Wings
Creating these perfect wings is simpler than you think. Follow these clear steps for crispy, flavorful results every time.
Preparation: Oven and Equipment Setup
- Preheat Your Oven: Start by preheating your oven to a robust 425°F (218°C). A high temperature is essential for quickly crisping the chicken skin.
- Prepare Your Baking Sheet: Line a large baking sheet with parchment paper for easy cleanup. This will catch any drippings and prevent sticking. Alternatively, if you have a large cast iron skillet, it can also be used.
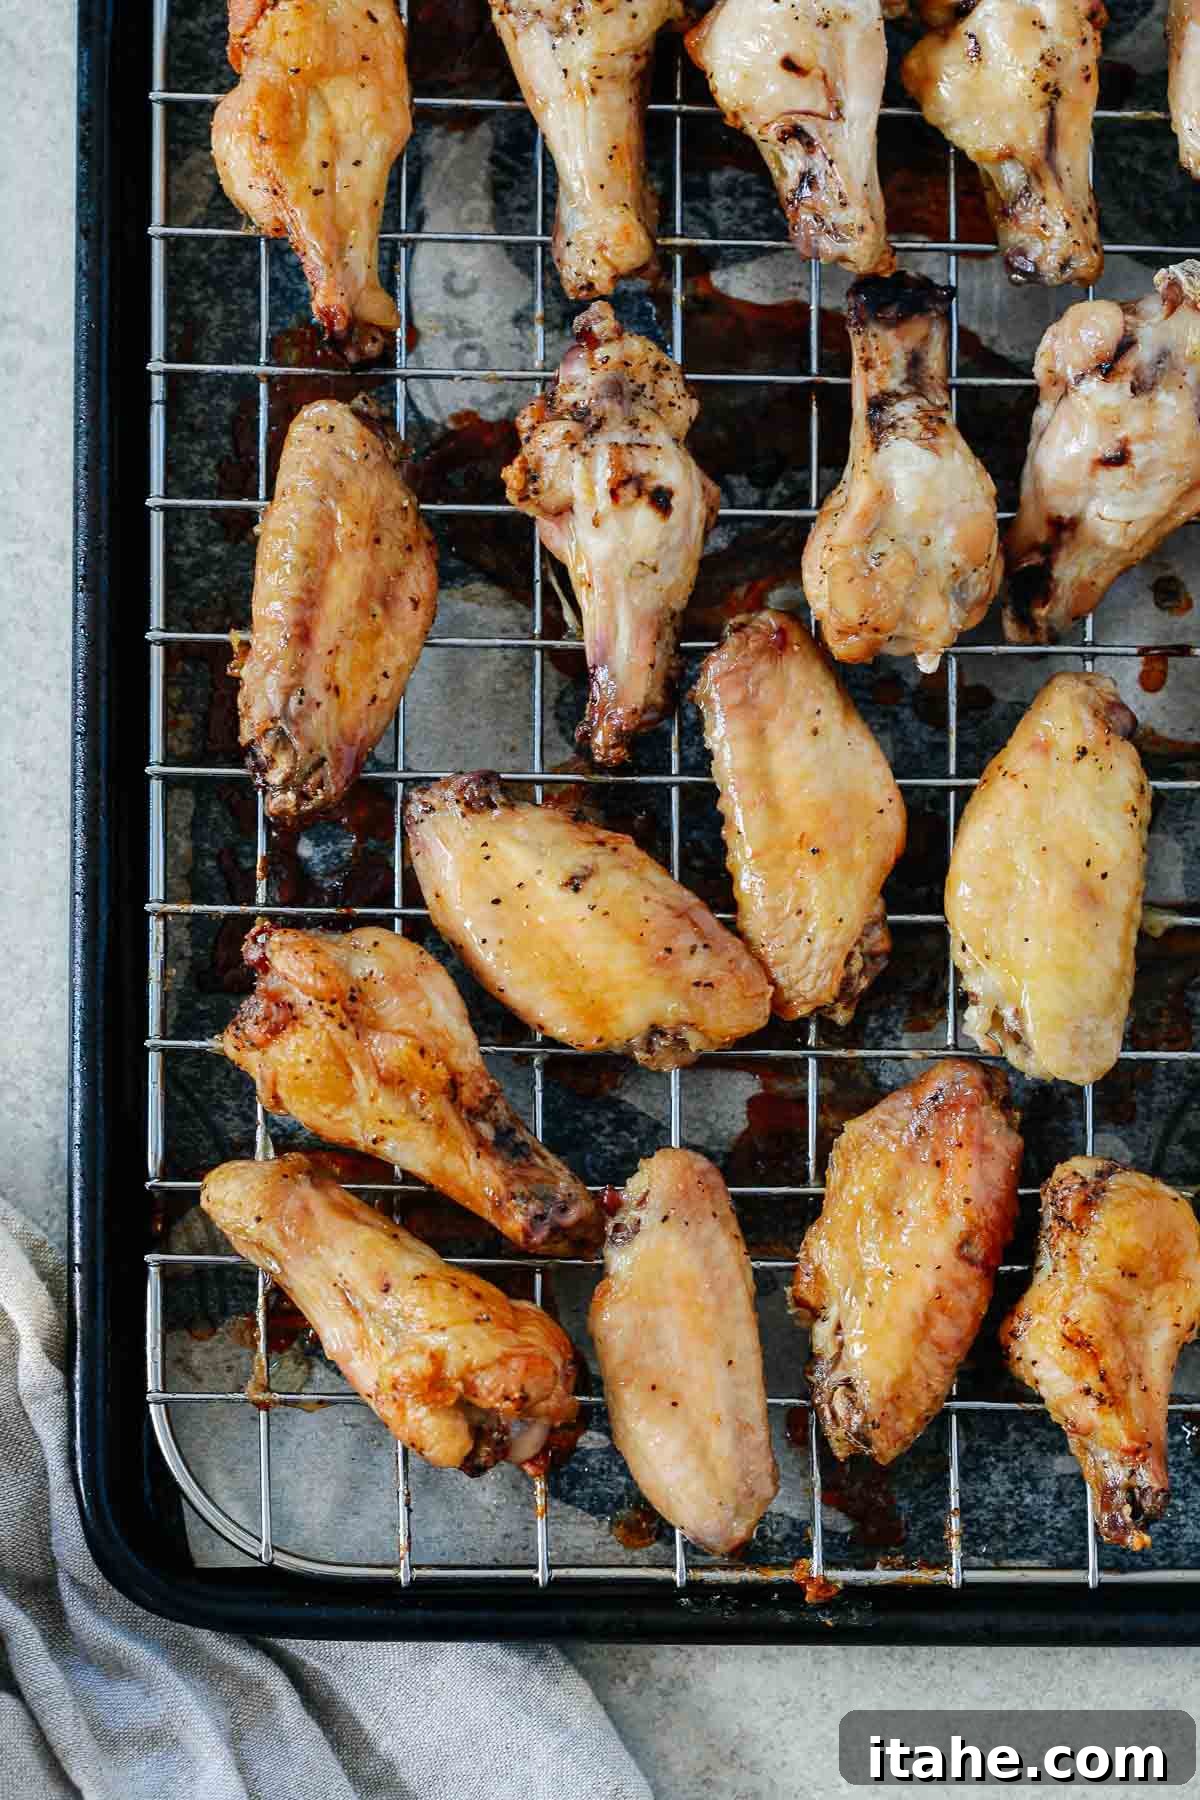
- Set Up for Airflow: Crucially, place a wire cooling rack on top of the parchment-lined baking sheet. This elevates the wings, allowing hot air to circulate completely around them, preventing sogginess on the bottom and promoting maximum crispiness.
Preparing the Chicken Wings for Seasoning
- Pat Wings Dry: Before seasoning, it’s vital to thoroughly pat the chicken wings dry with paper towels. Removing excess moisture is the secret to a crispy skin!
- Season Generously: In a large mixing bowl, combine the dried chicken wings with olive oil, salt, and freshly ground black pepper. Use your hands to toss everything together, ensuring each wing is evenly coated with the oil and seasoning. Don’t be shy with the seasoning; remember, the flavor needs to penetrate the chicken.
- Arrange on Rack: Arrange the seasoned wings in a single layer on the prepared wire rack. Ensure there’s enough space between each wing for proper air circulation; overcrowding the pan will steam the wings instead of crisping them.
Baking and Serving Your Perfect Wings
- Initial Bake: Place the baking sheet with the wings into your preheated oven. Bake for approximately 30 minutes. At this point, the wings will start to brown and the fat will begin to render.
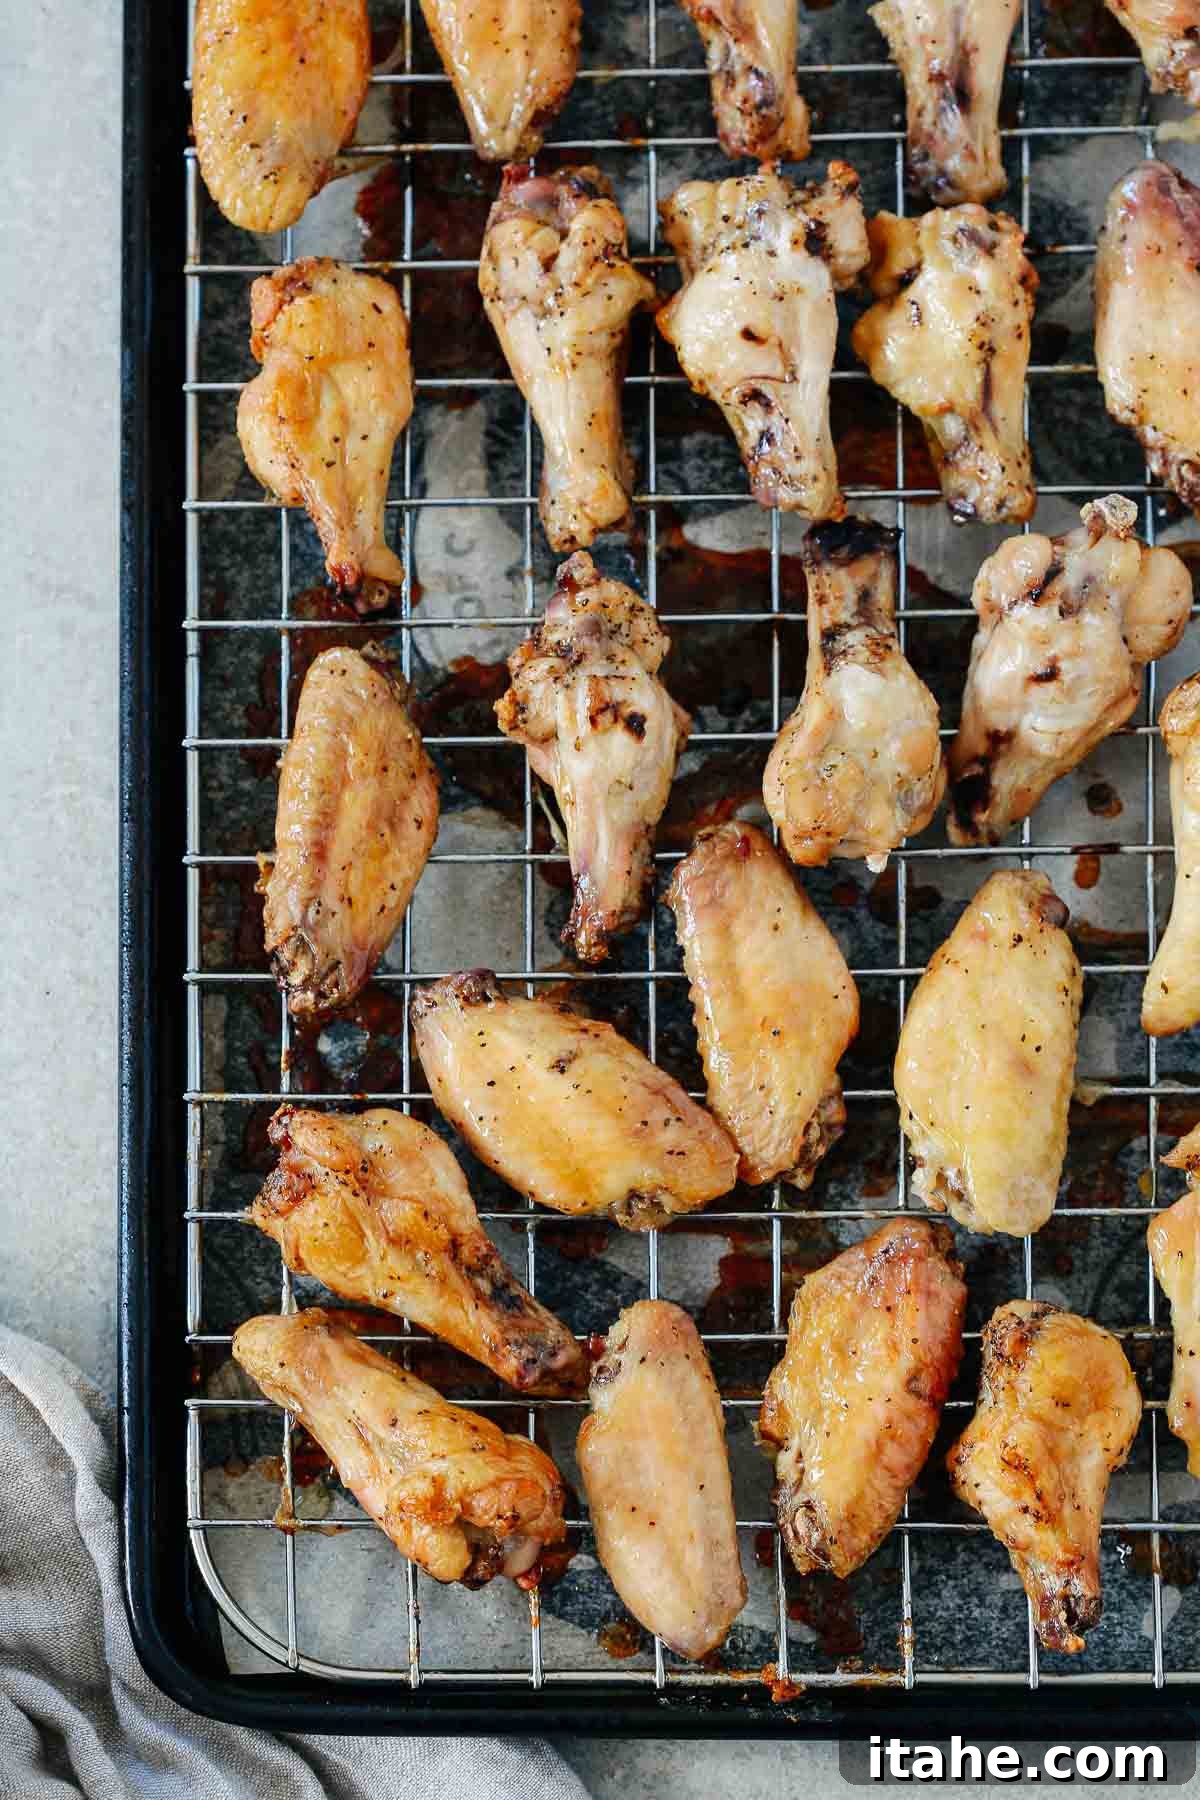
- Flip and Finish: Carefully remove the baking sheet from the oven. Using tongs, flip each wing over to ensure even browning and crisping on both sides. Return them to the oven and continue baking for another 15-20 minutes, or until they reach a beautiful golden-brown color and are irresistibly crispy. Baking times can vary slightly depending on your oven’s calibration and the size of your wings, so keep an eye on them.
- Final Touches: Once perfectly cooked, remove the wings from the oven. For an extra punch of flavor, you can sprinkle them with a little more salt and pepper, if desired. Garnish generously with freshly chopped parsley or sliced green onions before serving immediately. Enjoy the crunch!
Olivia’s Expert Tips for Crispy Wing Perfection
- The Moisture is the Enemy: Always, always pat your chicken wings thoroughly dry with paper towels before seasoning. Any residual moisture or ice crystals will steam the chicken, preventing the skin from getting truly crispy. Dry wings lead to crispy wings!
- Prep for Easy Cleanup: Line your baking sheet with aluminum foil or parchment paper before placing the wire rack. This simple step makes cleanup a breeze, as all the rendered fat and drippings will be caught. You can also lightly spray the wire rack with cooking spray to further prevent sticking.
- Embrace the Wire Rack: A wire rack isn’t just a suggestion; it’s a game-changer! It promotes 360-degree airflow around each wing, allowing fat to drip off and ensuring the bottom of your wings gets just as crispy as the top. Skipping this step often results in soggy undersides.
- The Broiler Boost: If, after the full baking time (45-50 minutes), your wings aren’t as golden and crispy as you’d like, you can give them a quick blast under the broiler. Watch them like a hawk, as broilers can go from perfect to burnt in a matter of seconds. Just 1-2 minutes should be enough to achieve that extra crackle.
Storage and Reheating Tips for Leftover Wings
While it’s unlikely you’ll have many leftovers, these salt and pepper chicken wings are so good you’ll want to ensure any remaining ones stay delicious.
- Storage: To keep leftover wings fresh and to prevent them from becoming soggy, store them in an airtight container in the refrigerator. They will maintain their quality for up to 3-4 days. An airtight container is key to protecting them from absorbing moisture and odors from other foods.
- Reheating: For best results and to revive that desirable crispiness, avoid reheating in the microwave, which tends to make them soft and rubbery. Instead, reheat the wings in a preheated oven (around 350°F / 175°C) or an air fryer for 10-15 minutes, or until heated through and crispy again. This method helps the skin crisp up beautifully.
- Freezing Cooked Wings: Cooked chicken wings freeze surprisingly well! Once completely cooled, transfer them to a freezer-safe bag or container, removing as much air as possible. They can be frozen for up to 3 months. When ready to enjoy, thaw them in the refrigerator overnight and then reheat using the oven or air fryer method.
Can I Prepare These Salt and Pepper Wings in Advance?
Absolutely! These wings are incredibly forgiving and can be prepared partially or fully ahead of time, making them perfect for meal prep or entertaining without the last-minute rush. You have a couple of excellent options:
Option 1: Overnight Marination (Uncooked)
You can prepare the wings through the seasoning step (mixing with olive oil, salt, and pepper) and let them marinate in the refrigerator overnight. Place them in a sealed container or a large zip-top bag. This allows the flavors to deepen and meld, resulting in even more delicious wings. When you’re ready to cook, simply arrange them on the wire rack and bake as directed.
Option 2: Bake Ahead and Reheat (Cooked)
For ultimate convenience, you can bake the wings completely ahead of time. Once they’re cooked and crispy, allow them to cool fully. Then, store them in an airtight container in the fridge for up to 4 days. When it’s time to serve, simply reheat them in a preheated oven or air fryer until warmed through and re-crisped. This makes them an ideal make-ahead appetizer or a quick weeknight meal!
Serving Suggestions: What to Pair with Salt and Pepper Wings
These versatile salt and pepper chicken wings are fantastic on their own, but they also shine when served as part of a larger spread. Whether you’re planning an appetizer plate or a full main meal, here are some delicious ideas:
- As a Snack or Appetizer: For a classic finger food experience, arrange the wings on a platter with an assortment of fresh, crunchy vegetables. Think crisp carrot sticks, cool celery stalks, blanched edamame, and other dippable delights. Offer a selection of dips such as a creamy ranch, blue cheese dressing, or a vibrant hummus.
- As Part of a Main Meal: To make these wings the star of your dinner table, pair them with complementary side dishes.
- For a lighter, refreshing meal, a crisp coleslaw salad or a simple green salad with a zesty vinaigrette works beautifully.
- If you’re in the mood for something heartier, these wings are excellent alongside classic American comfort foods. Consider serving them with juicy hamburgers, golden sweet potato fries, or perfectly crispy onion rings.
- Elevate the experience with an array of delectable dipping sauces. Classic hot sauce offers a fiery kick, while a creamy garlic aioli sauce or a refreshing avocado sauce adds a luxurious touch. Don’t be afraid to experiment with your favorite condiments!

Salt and Pepper Chicken Wings
3.10 from 21 votes
Author: Olivia Ribas
- Servings:
- 6 people
- Prep Time:
- 5 minutes
- Cook Time:
- 40 minutes
- Total Time:
- 45 minutes
Crispy, golden, and finger-licking good, these are going to be the best salt and pepper chicken wings you’ve ever made! Made with pantry staples, these flavourful but budget-friendly wings are going to become a staple in your household!
Ingredients
- 2 lb chicken wings
- 1 tbsp olive oil
- 1 tsp freshly ground black pepper
- 2 tsp sea salt (or kosher salt)
- 1 tsp fresh parsley, chopped (for garnish, optional)
Instructions
- Preheat oven to 425°F (218°C). Line a baking sheet with parchment paper. Place a cooling rack on top of the prepared baking sheet. Set aside.
- Thoroughly pat chicken wings dry with paper towels. In a large bowl, add the dried chicken wings, olive oil, salt, and pepper. Mix everything very well to ensure all wings are evenly coated.
- Place the wings in a single layer on the prepared wire rack on the baking sheet, ensuring there is space between each wing.
- Bake for about 30 minutes. Remove from the oven, flip each wing, and bake for an additional 15-20 minutes, or until they are golden brown and perfectly crisp. Baking time may vary depending on your oven and wing size.
- Before serving, sprinkle with more salt and pepper if desired, and garnish with fresh chopped parsley or green onions. Serve immediately and enjoy!
Notes
- Pat Dry for Crispy Skin: Always pat the chicken wings dry with paper towels before seasoning. Removing moisture is the most crucial step for achieving maximum crispiness.
- Easy Cleanup: For a quicker cleanup, place aluminum foil or parchment paper on the sheet pan underneath the wire rack to catch any drippings.
- The Wire Rack Advantage: Using a wire rack is essential for promoting even airflow around the wings, allowing rendered fat to drip away and ensuring the bottom of the wings gets just as crispy as the top.
- Storage: Store leftover wings in an airtight container in the refrigerator for up to 4 days to prevent them from becoming soggy.
- Reheating: To restore crispiness, reheat cooled wings in a preheated oven (350°F/175°C) or air fryer for 10-15 minutes until hot and crispy. Avoid microwave reheating.
- Freezing: Cooked chicken wings can be frozen for up to 3 months in a freezer-safe bag. Thaw in the refrigerator before reheating.
Nutrition Information
Serving: 1/6 (approx. 3-4 wings)
Calories: 302 kcal
Protein: 27 g
Fat: 22 g
Sodium: 787 mg
Potassium: 6 mg
Nutrition information is automatically calculated and should be used as an approximation.